
No two businesses track exactly the same things, yet most off-the-shelf systems hand you a fixed set of boxes and expect you to bend around them. Custom fields remove that ceiling — extend Asset Giant with the exact information your business cares about, so the system fits the way you work.
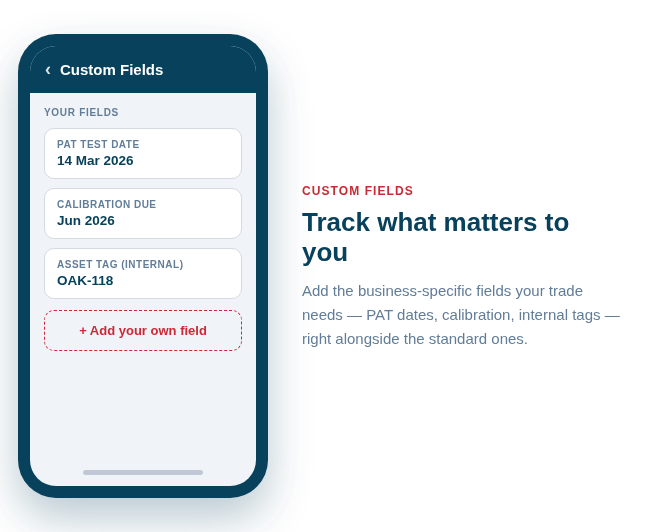
Define them once, in Settings
You set your custom fields up in one place — Settings — and from then on they appear automatically on every asset, ready to be filled in. There’s no form to redesign and nothing to repeat per item; define a field once and it simply becomes part of the standard asset profile.
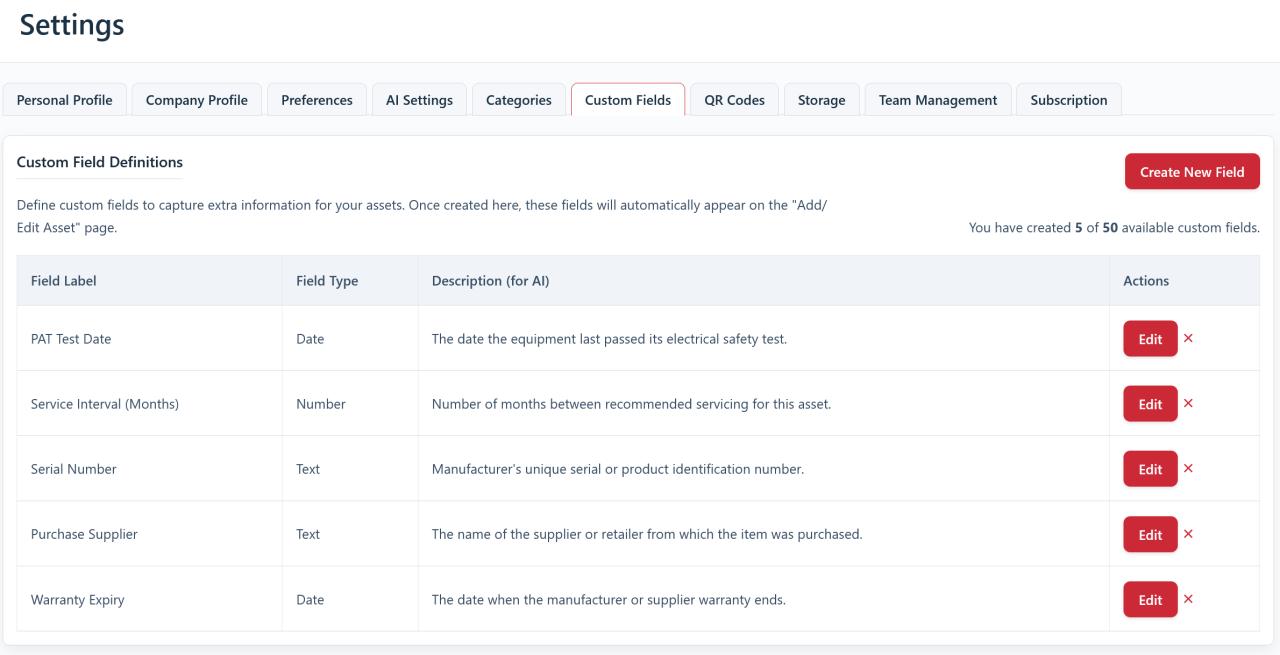
When you create a field you pick the right type for it, which keeps the data clean and makes it properly searchable later:
- Text — references such as a PO number, a shelf location or an internal code.
- Number — values like a daily hire rate, a weight or a count.
- Date — anything that matters on a timeline, such as a next-service or PAT test date. A date field can also carry a reminder, so the right people are told before it passes. A date field holds one date; when you also want to keep who did the work, whether it passed and the certificate, set the job up under Settings → Maintenance instead.
- Link (URL) — a manufacturer’s page, an online manual or a supplier listing.
- Yes / No — simple flags like “requires calibration” or “loanable to clients”.
- List of options — a dropdown of the choices you write, such as Owned / Hired / Sub-hired or Van 1 / Van 2 / Yard. Everyone picks from the same list, so the values stay tidy and filter cleanly.
Examples from a range of trades
The fields that matter vary enormously from one business to the next — that’s exactly the point. A few that earn their place in different industries:
| Industry | Custom fields worth adding |
|---|---|
| Construction & trades | PAT test date, next service date, shelf / bay location, supplier PO number |
| Tool & plant hire | Daily hire rate, current hirer, deposit held, service-due (engine hours) |
| Electrical & mechanical | Calibration due (with a reminder set 30 days ahead), test-certificate link, voltage / load rating, “requires PAT” flag |
| IT, AV & media production | Internal asset tag, warranty expiry, firmware version, assigned client |
| Catering & events | Food-safety check date, portable-appliance test, “loanable to clients” flag, kit contents |
| Healthcare, dental & labs | Calibration / sterilisation date, regulatory class, service-contract URL, last-validated date |
The pattern is always the same: take the detail you currently keep in your head, on a label, or in a side spreadsheet, and give it a proper home on the asset itself.
Each field shows only where it belongs
A long list of fields that mostly do not apply is a form nobody fills in properly, so every field can say which assets it belongs on. Tick the asset types it applies to, the categories it applies to, or both — and where you use both, choose whether an asset has to match both or either. A category covers everything filed under it, sub-categories included.
A Safe working load field then sits on the lifting gear and nowhere else. A Lens mount field appears on cameras. A PAT test due date appears on the power tools and the leads. Each asset page asks for the detail that matters for that item, which is quicker to fill in and far more likely to be right.
Narrowing a field never throws anything away: a value already entered stays on the asset, shown read-only. And the AI is only asked to fill in the fields that apply to the item in front of it, so its suggestions get sharper as you scope more fields (see Fill in Details from a Make and Model).
Fields you can actually search, report on and be reminded about
The real power of custom fields is that they’re not just storage — they’re fully searchable. Because each field has a proper type, you can build precise filters and surface exactly the assets that need attention. For example:
- List every item whose PAT test date falls before the end of the month — or set a lead time on the field and let it tell you.
- Pull up everything tagged with a particular PO number for a job you’re reconciling.
- Show all equipment flagged as requiring calibration ahead of a scheduled round.
This effectively gives you lightweight, business-specific reporting without any report-building — covered in more depth under Find One Tool Fast: Filtering Your Inventory.
A Date field goes one step further. Give it a lead time — thirty days is the usual starting point — and name who should hear about it, and from then on an email arrives before each date on each asset comes round, with the items listed on an Alerts page in the app as well. One reminder covers every asset that has the field, including the ones you add next year. Reminders are included from the Crew plan; how they work is in Alerts Before a Date Passes.
Best Practice: Resist the urge to add a field for everything at once. Start with the two or three pieces of information you already wish you were tracking, get used to filtering on them, and add more only when a genuine need appears.
To set them up, see Add Your Own Fields to Track Anything Extra. The order your fields appear in — on the asset page, in exports and in the spreadsheet template — can be dragged into place by anyone managing company settings; see Customise Your Asset Page.