Welcome to Asset Giant! We’re excited to help you get your tools and materials organized. Follow these four steps to get the most out of the platform right away.
1. Complete the Onboarding Wizard
If you haven’t already, the first thing you should do is complete the 5-minute setup wizard. This configures the system and tunes the AI to understand your business, which leads to much better suggestions later.
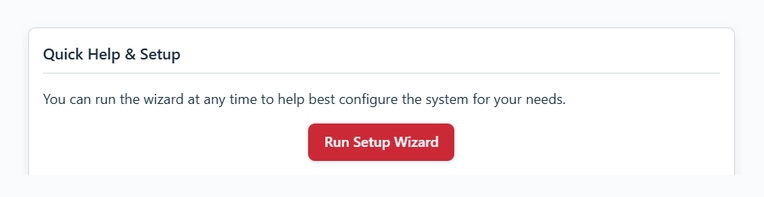
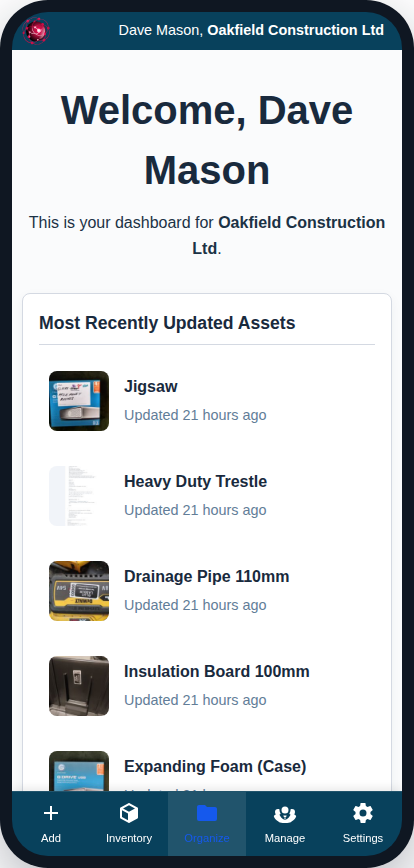
- From your main Dashboard, look for the “Quick Help & Setup” card.
- Click the “Run Setup Wizard” button.
- Follow the on-screen steps to enter your company details, business type, and initial preferences. For a more detailed guide, see Running the Onboarding Wizard.
2. Add Your Locations
Locations are the physical places where your assets are stored or used, such as your workshop, a storage unit, or a company vehicle. Setting these up first makes adding assets much faster.
- From the main menu, go to Locations (on a phone, tap Manage then Locations).
- Click the “Add New Location” button.
- Give your location a name (e.g., “Main Workshop”, “Ford Transit Van #1”) and set its type.
- Click “Save Location”. Repeat for all your key locations.
3. Invite Your Team
Get your team on board so they can start tracking assets from day one.
- Navigate to Settings from the main menu.
- Click on the “Team Management” tab.
- Enter your team member’s name and email address and click “Send Invite”. They will receive an email with instructions to set their password and log in. For more information, see Managing Your Team Members and Roles.
4. Add Your First Asset
Now you’re ready to build your inventory!
- Click the “Add Asset” button in the main navigation menu.
- Upload a photo and try the “Identify image” AI button to see it in action, or fill out the details manually.
- Assign the asset to one of the locations you created in Step 2.
- Click “Save Asset”.
Congratulations! You’ve completed the essential setup steps and are on your way to a fully organized inventory.