Custom Fields allow you to tailor the Asset Giant platform to your business’s specific needs by adding your own data fields to the “Add/Edit Asset” page.
How to Access the Custom Fields Manager
- Navigate to Settings from the main menu.
- Click on the “Custom Fields” tab.
Creating a New Custom Field
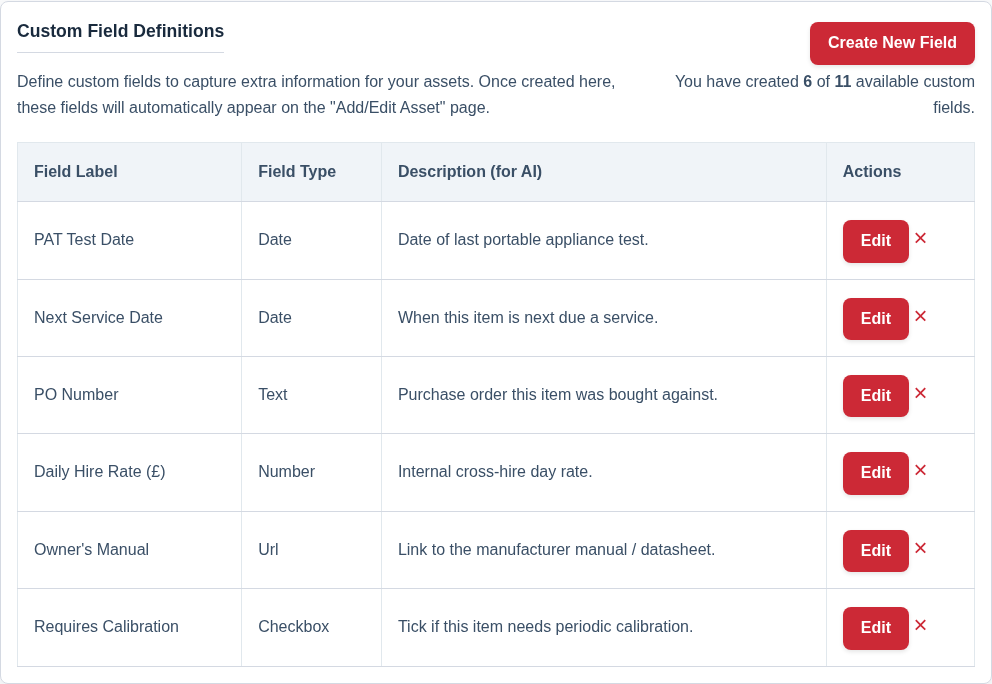
- Click the “Create New Field” button.
- A modal popup will appear.
- Field Label: Enter the name for your field as you want it to appear to users (e.g., “Next Service Date”).
- Field Type: Choose the type of data this field will hold. This is important for data entry and filtering.
- Text: A single line of text.
- Text Area: A larger box for multiple lines of text.
- Number: For numerical data.
- Date: A date picker.
- URL: A web address.
- Checkbox: A simple Yes/No toggle.
- Description (for AI): This field is optional. If you add a short note about what the field is for, the AI will use it when suggesting a value during AI lookups. You can leave it blank if the label alone is self-explanatory.
- Click “Save Field”.
The new field will now appear on the “Add/Edit Asset” page for all of your assets.
Deleting a Custom Field
To delete a custom field, simply click the red ‘X’ button in its row in the table.
WARNING: Deleting a custom field is a permanent action that cannot be undone. When you delete a field, all data that has been entered into that field for every asset in your inventory will be permanently erased.