The mobile scanner is designed for fast, in-the-field updates. It allows you to move tools and assets between locations simply by scanning a series of QR codes.
The Scanning Workflow
The process always follows the same three steps:
- Scan the destination.
- Choose your action (Check In or Check Out).
- Scan the items you are moving.
Step-by-Step Guide
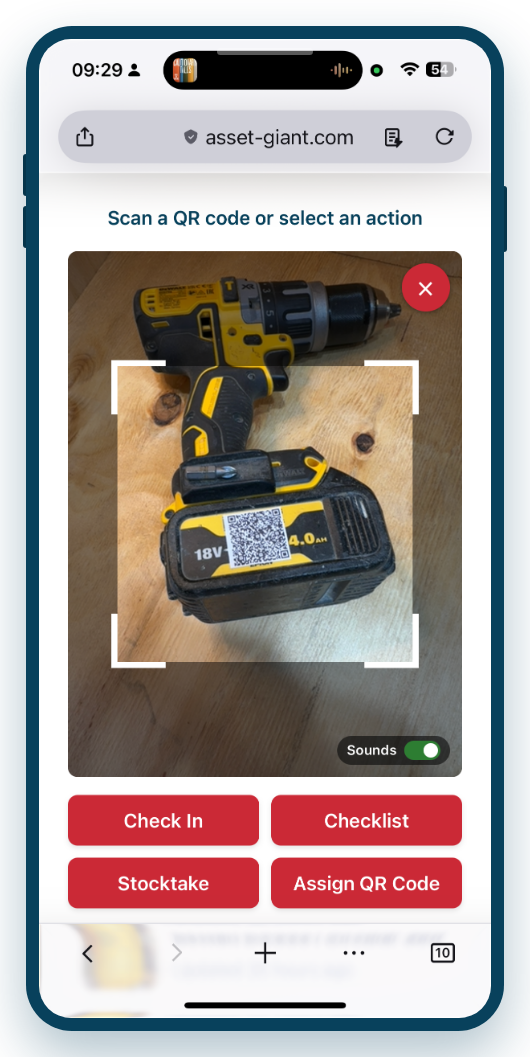
1. Open the Scanner
On your mobile device, open the Manage menu in the bottom navigation bar and tap Scan at the top of the list. The camera will open.
2. Scan the Location
Scan the QR code of the location (e.g. the sticker on your van’s dashboard or on the workshop wall) you are moving items to. You can also choose a location from the on-screen list if it isn’t labelled.
3. Choose Your Action
Once a location is recognised, a card appears with the actions you can perform at that location. For moving tools around, the two you’ll use most are:
- Check In: Choose this when items are arriving at this location (e.g. loading tools back into the van at the end of the day). The scanned items have their Current Location set to this location.
- Check Out: Choose this when items are leaving this location (e.g. taking tools out of the workshop to head to a job site). The scanned items have their Current Location cleared, marking them as out and on the move.
Check In and Check Out only update an asset’s location and add a record to its history. They do not change an asset’s status or who it’s assigned to.
4. Scan Your Items
The camera stays live. Now scan the QR code on each tool or asset you are moving. Each time you scan an item:
- A short confirmation appears and the device gives a quick vibrate.
- The item is added to a running list on screen, where you can tap Remove if you scanned something by mistake.
5. Finish
You can scan as many items as you need. When you’re done, tap the “Finish Check-In” (or “Finish Check-Out”) button. The changes are applied to all the scanned items at once and recorded in their history.