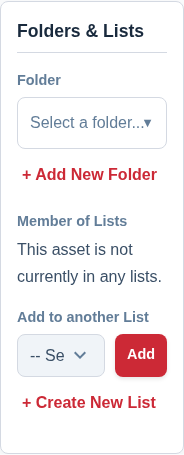
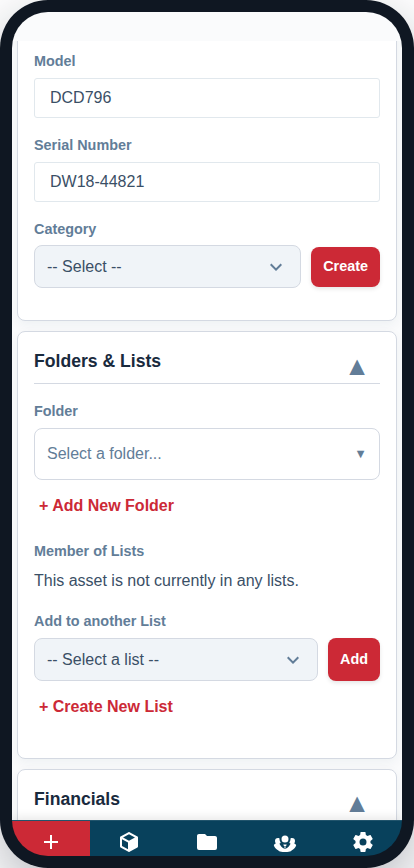
The “Folders & Lists” card is your primary tool for organizing a specific asset. For a high-level overview of the difference between these concepts, please see Understanding Folders, Lists, and Categories.
Assigning to a Folder
An asset can only be in one folder at a time. Use the folder to define the asset’s primary group or department.
- Click the “Select a folder…” input box. A dropdown tree of your folders will appear.
- Navigate the tree and click on the name of the folder you want to assign the asset to.
- Click the “Assign” button in the dropdown to confirm.
If you need to create a new folder, click the “+ Add New Folder” link below the selector.
Managing List Membership
An asset can be on multiple lists simultaneously. This section shows you which lists the item is currently a member of and allows you to add it to others.
1. Viewing List Membership
The “Member of Lists” section displays all the lists this asset currently belongs to. You can click on any list name to view that list, or click the ‘X’ button to remove the asset from it.
2. Adding to Another List
- Use the “Add to another List” dropdown to see all the lists the asset is not currently on.
- Select a list from the dropdown.
- Click the “Add” button.
If the list you need doesn’t exist, click “+ Create New List” to create it on the fly, then add the asset to it.