Good photos are essential for quickly identifying your assets. The “Media” card on the Add/Edit Asset page is where you manage all images for an item.
Uploading Photos
- On the Add/Edit Asset page, find the Media card.
- Click the “Add” button.
- Your device’s file browser will open. You can select one or more image files to upload.
- The system will automatically compress the images to save storage space and improve performance before uploading them.
Viewing and Navigating Photos
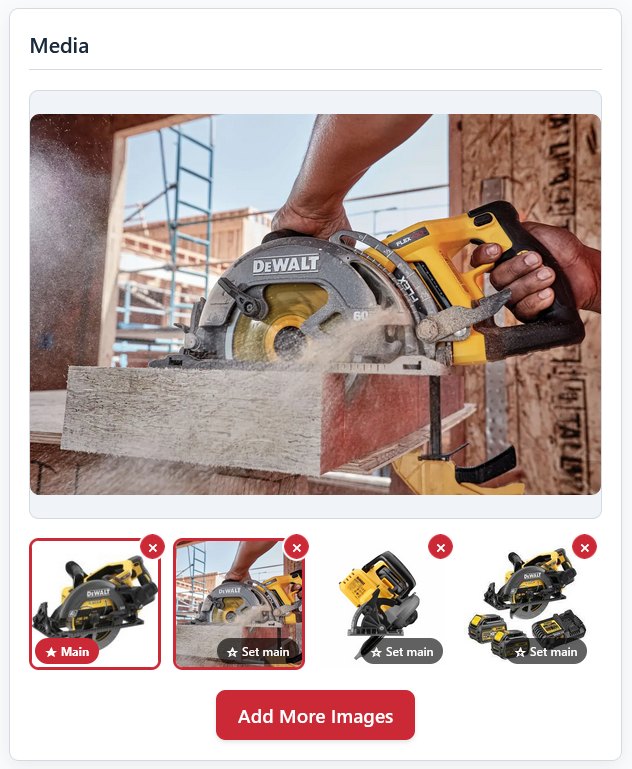
Once uploaded, you will see small thumbnails for each photo appear at the bottom of the Media card.
- Main Image Viewer: The large area at the top of the card shows the currently selected photo.
- Switching Photos: Simply click on any thumbnail to display it in the main image viewer. The active thumbnail will have a red border.
- Image Browser: Click on the main image to see a larger preview and zoom in or out.
To remove a photo that is no longer needed:
- Hover over the thumbnail of the photo you want to delete.
- A small red ‘X’ button will appear in the top-right corner of the thumbnail.
- Click the ‘X’. The thumbnail will disappear from the view.
- Click the main “Update Asset” button at the top of the page to make the deletion permanent.
Note: Removing a photo is a permanent action and cannot be undone once the asset is saved.