The “Team Management” screen allows Company Admins to control who has access to the company’s inventory data.
How to Access Team Management
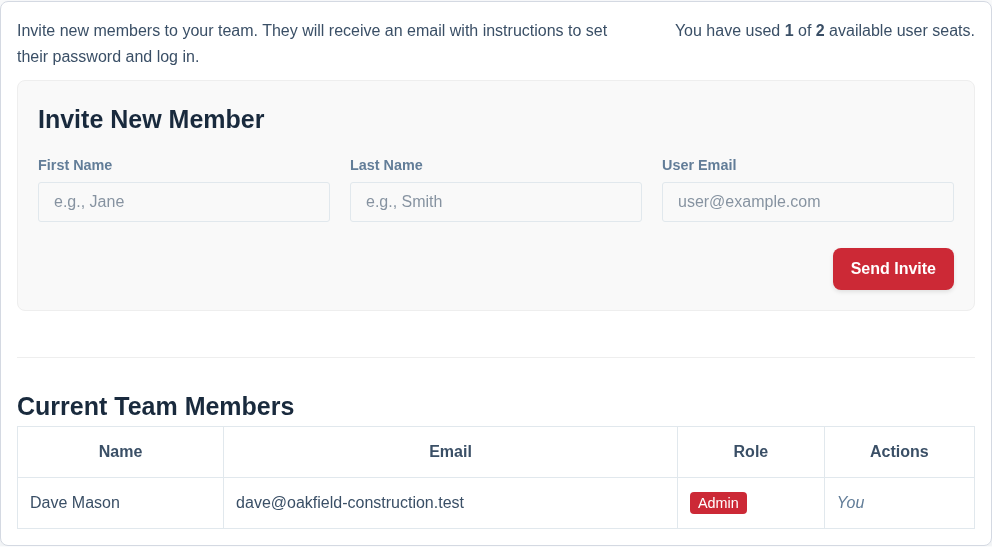
- Navigate to Settings from the main menu.
- Click on the “Team Management” tab.
Inviting a New User
- Fill out the First Name, Last Name, and User Email in the “Invite New Member” form.
- Click “Send Invite”.
The user will receive an email with a unique link to set their password and log in. Once they do, they will have access to your company’s data.
Getting new starters up to speed: because each user has their own help tips, guided tours do a lot of the training for you. When a new team member logs in for the first time, short in-app pop-ups introduce the features they’ll use most — no sit-down session required. See Guided Tours and Help Tips.
User Roles: Admin vs. Member
There are two roles a user can have within your company:
- Company Admin: Can do everything a Team Member can do, PLUS they can access the Settings page to invite/remove users, change company details, and manage the subscription.
- Team Member: Can add, edit, and view assets, but cannot access the company Settings.
Changing a User’s Role
In the “Current Team Members” list, you can click the “Make Admin” or “Make Member” button next to a user’s name to toggle their role. You cannot demote yourself from an Admin to a Member.
Removing a User
To remove a user’s access to your company:
- Find the user in the list.
- Click the “Remove” button.
- Confirm the action in the popup.
What happens when a user is removed?
- They will immediately lose all access to your company’s data.
- Their user account is not deleted, it is simply unlinked from your company.
- Any assets they created remain with the company.
- Their name will remain attached to entries in the Activity History for audit trail purposes.