While the “Media” card is for photos of your asset, the “Files” card is for attaching any other kind of related document. It’s the perfect place to keep everything you need for an asset in one central, digital location.
What Kind of Files Can I Upload?
You can upload a wide variety of common file types, including:
- PDFs (.pdf)
- Word Documents (.doc, .docx)
- Excel Spreadsheets (.xls, .xlsx)
- Text files (.txt)
- Images (.jpg, .png)
- Compressed folders (.zip)
This makes it ideal for storing:
- Purchase receipts or invoices
- User manuals and technical specifications
- Service records and reports
- Safety or compliance certificates (e.g., PAT test results)
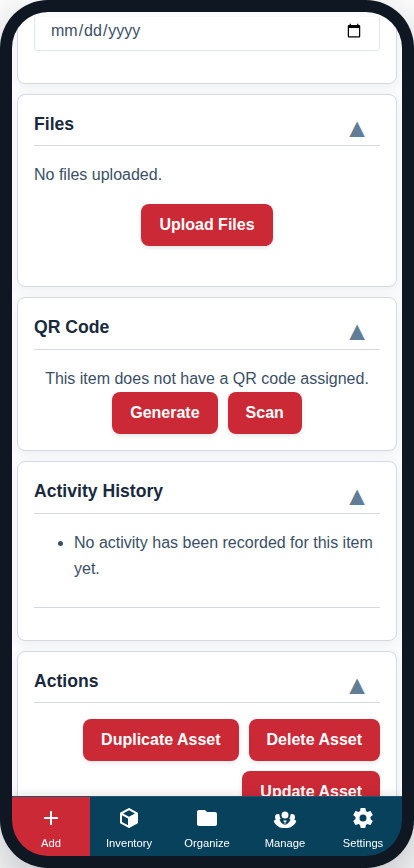
How to Upload a File
- On the Add/Edit Asset page, find the Files card.
- Click the “Upload Files” button.
- Your device’s file browser will open. Select one or more files to attach.
- The files will appear in a list within the card.
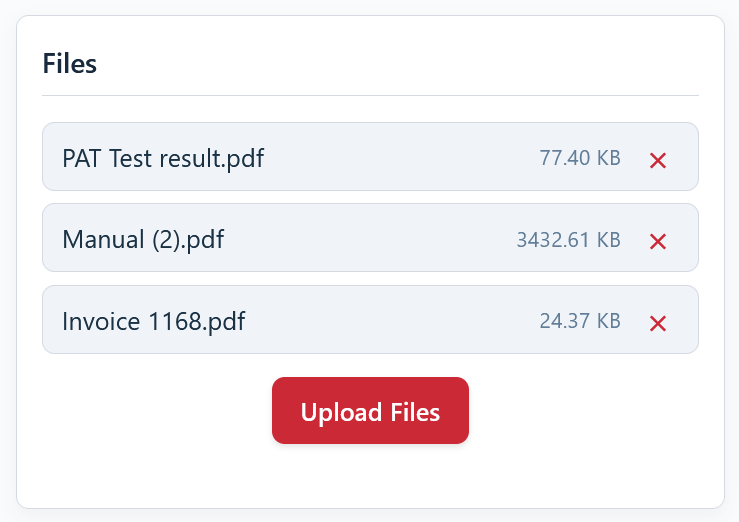
Managing Uploaded Files
Once uploaded, your files are listed in the card.
- Downloading a File: Click on the file’s name to open or download it.
- Removing a File: Click the red ‘X’ button to the right of the file name to remove it.
- Saving Changes: Remember to click the main “Update Asset” button at the top of the page to permanently save your file uploads or deletions.
By keeping important documents attached directly to your assets, you ensure your team always has the information they need, right at their fingertips.