The “Clients” section acts as a lightweight Customer Relationship Manager (CRM). It allows you to store contact details for your clients and see a full history of the projects and assets associated with them.
Finding the Clients Page
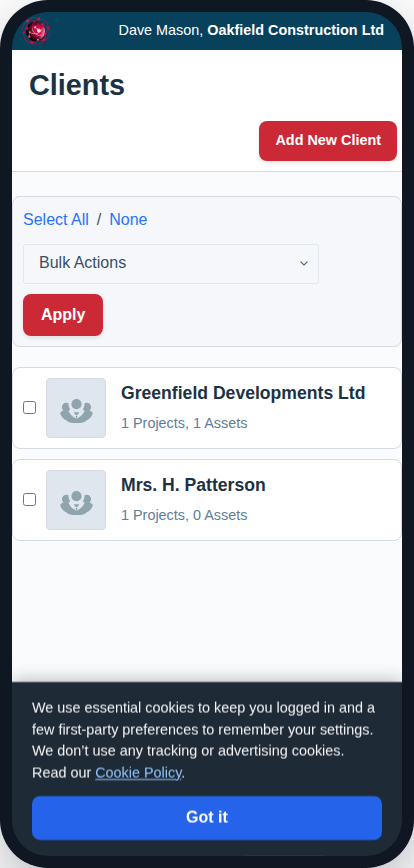
You can view your list of clients by navigating from the main menu to Manage -> Clients.
Creating a New Client
- From the Clients Viewer page, click the “Add New Client” button in the header.
- On the “Add New Client” page, the most important field is the Client Company Name in the header. Fill this in.
- In the “Contacts” card, click “Add Contact” to create one or more contact people for this client. You can add their name, role, email, and phone. Be sure to designate one as the main contact.
- Fill in the client’s billing address in the “Client Address” card.
- Click “Save New Client”.
Editing an Existing Client
To edit a client, simply click on their name in the main Clients Viewer list. This will take you to their detail page, where you can update their name, add or remove contacts, and change their address.
Viewing Client History
When you are editing an existing client, you will have access to two additional tabs:
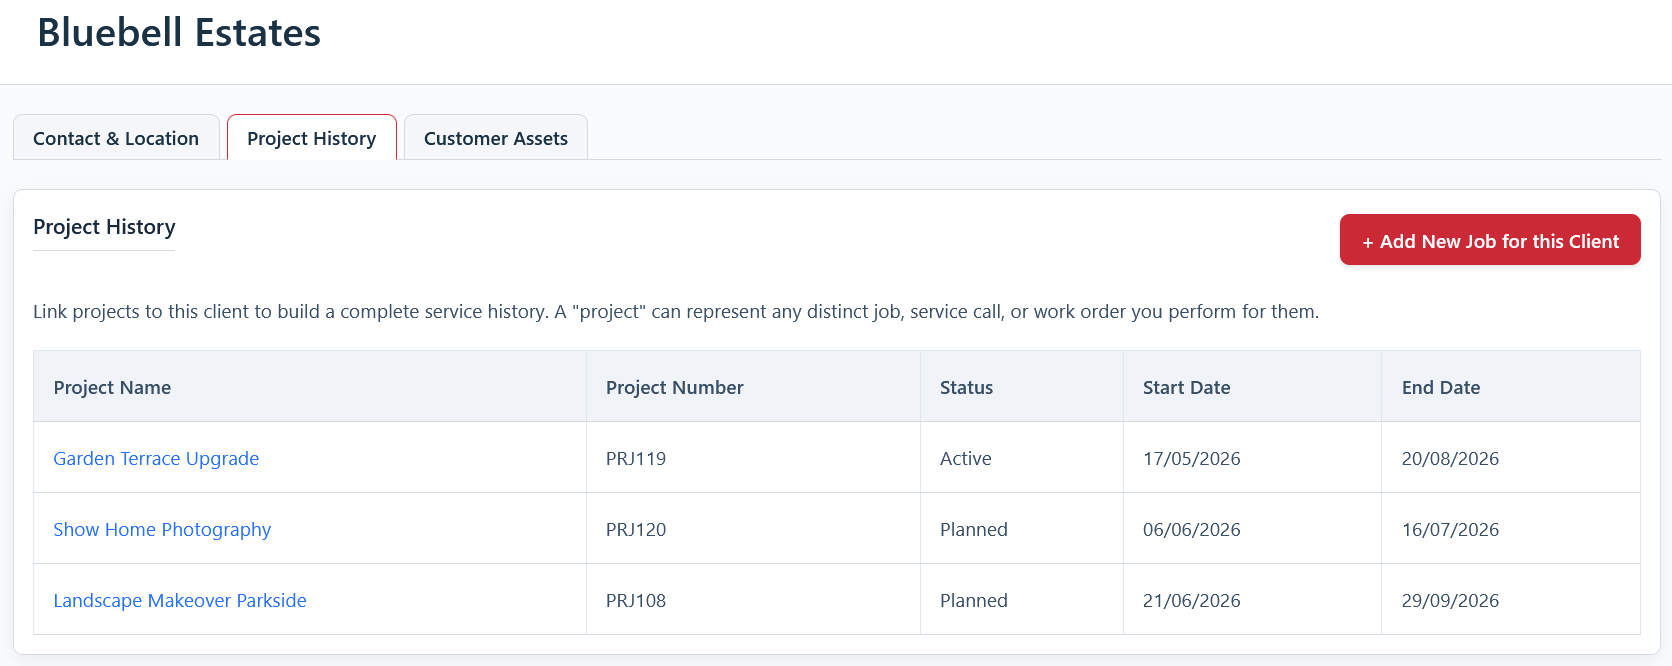
- Project History: This tab displays a table of every project that has been linked to this client, giving you a complete service history at a glance.
- Customer Assets: This tab shows an inventory list of every asset currently assigned to this client. This is perfect for tracking items that are on long-term loan or have been permanently installed at the client’s site.