The Dashboard is your command center. It gives you a real-time overview of your inventory and account. Here’s a breakdown of each section.
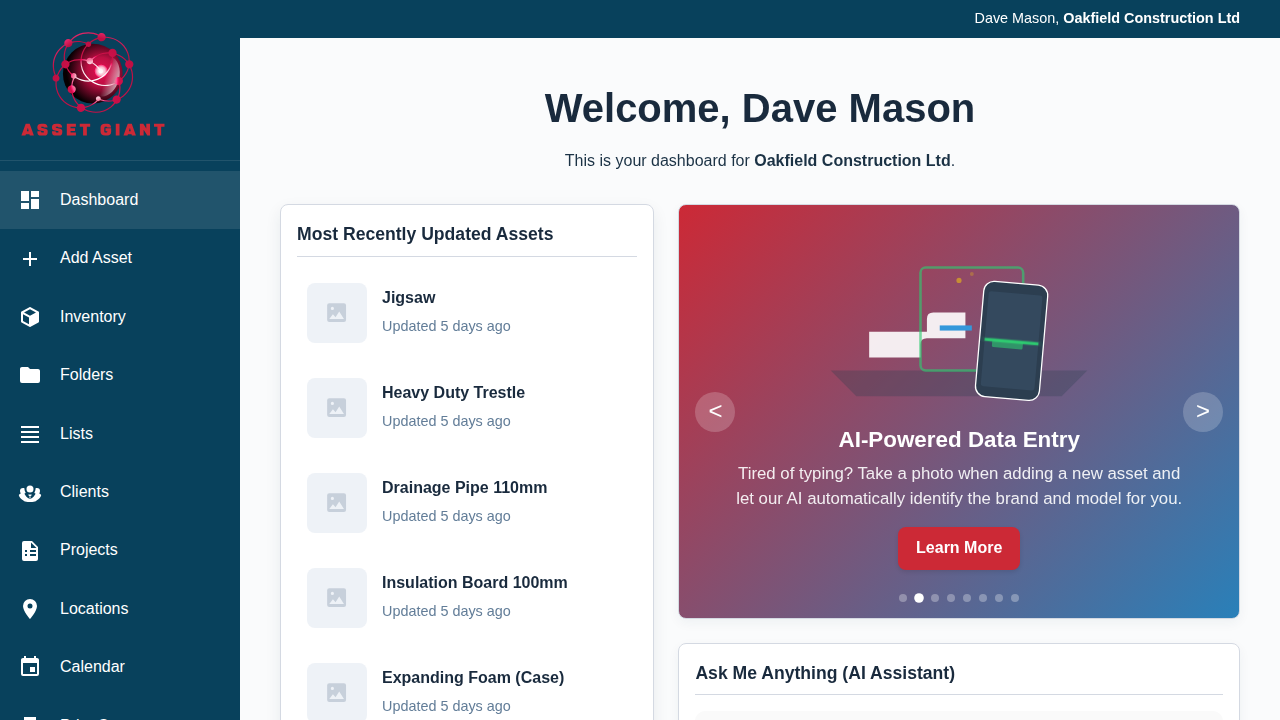
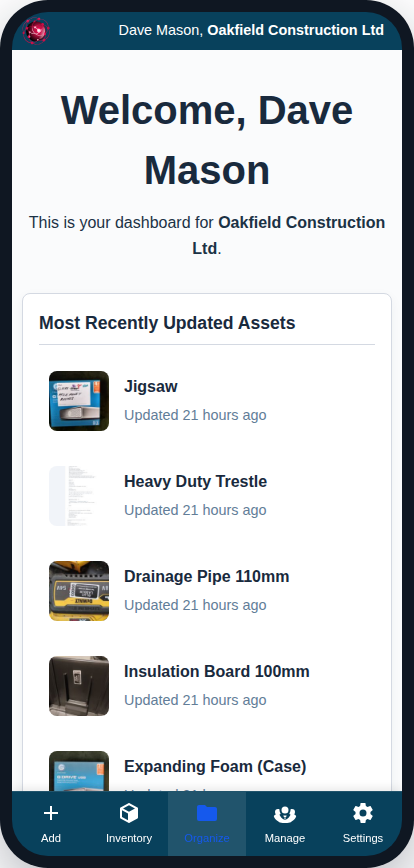
1. Most Recently Updated Assets
This card shows the last 5 assets that were either created or had their information changed (e.g., status or location updated). It’s the quickest way to see the latest activity in your inventory. Click on any asset to jump directly to its edit page.
2. My Locations
This card shows your 5 most “active” locations. Activity is determined by either the location itself being updated or an asset at that location being updated. It helps you see where the most recent work is happening.
3. Feature Highlights
At the top of the wide column you’ll find a rotating carousel that highlights key features, such as the Label Designer, AI data entry, and client-facing QR codes. Each slide has a “Learn More” button that takes you to the relevant helpdesk guide.
4. Ask Me Anything (AI Assistant)
This is your direct line to the Asset Giant AI. Ask questions in plain English, like “How many cameras do we have?” or “Where is asset TOOL-000123?”, and it will answer using your live inventory data. Each question counts towards your plan’s AI lookup allowance.
5. Plan Usage
These dials give you an at-a-glance view of your account limits.
- Assets: How many assets you’ve logged vs. your plan’s limit.
- Users: How many team members you’ve invited.
- Storage: How much space your uploaded photos and files are using.
The dials change color from green to yellow (at 75% usage) to red (at 90% usage) to warn you as you approach your limit. Learn more about limits at Understanding Your Subscription and Usage.
6. Quick Help & Setup
This card has a “Run Setup Wizard” button so you can re-run the Onboarding Wizard at any time, plus a list of Guided Tours — short, in-app walkthroughs of key features. Tap any tour to run it on the spot. To learn more, see Guided Tours and Help Tips.
7. QR Codes For Your Customers
This card provides a quick link to the management page for Public QR Codes. These are special QR codes you can give to clients that redirect to any website you choose, separate from your internal inventory. See our full guide: Public vs. Private QR Codes: What’s the Difference?.