The Onboarding Wizard is the fastest way to configure your Asset Giant account. It’s designed to be completed in about 5 minutes and will save you hours of work later by pre-configuring your settings and tuning the AI to your business.
Not Just For First-Time Users
While it’s essential for new users, you can re-run the wizard at any time from your Dashboard. When you do, it will load all your existing company settings. This makes it the perfect place to update your company’s AI profile, change your business activities, or manage your core asset types and custom fields in a guided way.
Starting the Wizard
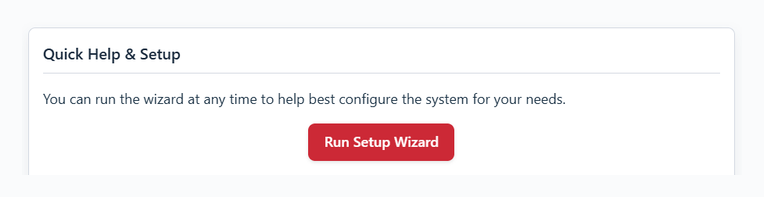
You can access the wizard from the “Quick Help & Setup” card on your main Dashboard.
Here’s a breakdown of each step:
Step 1: Your Company
Enter your company’s name and upload your logo. This information will be used on reports and other documents generated by the system.
Step 2: Your Business
Select the industries and activities that best describe your business (e.g., General Construction, Equipment Hire, Event Production, Media & Film). This information is used by our AI to provide more accurate suggestions when you’re adding assets.
Step 3: AI Profile
This is the most important step for leveraging our AI. In your own words, describe your business in detail.
- Best Practice: Be specific! Instead of “We hire out equipment,” try “We are a tool and plant hire company in Leeds. We hire out petrol generators, scissor lifts, dehumidifiers and a wide range of power tools, and every unit needs a PAT test and a service record.” The more detail you provide, the smarter our AI becomes.
Step 4: Asset Types
Define the broad types of items you track. The system starts with “Tool” and “Asset,” but you can add your own. For a full guide on this, see Managing Asset Types.
Step 5: Asset Defaults
To save time, you can set a default “Asset Type” that will be pre-selected every time you add a new item.
Step 6: Custom Fields
Do you need to track information unique to your business, like “Next Service Date” or “PAT Test Due”? You can create those custom fields here. For a full guide, see Creating and Deleting Custom Fields.
Step 7: All Set!
You’re done! From this final screen, you can jump directly to adding your first asset, defining more settings, or go to your dashboard.