“Unassigned QR Codes” are a powerful feature that allows you to work “bottom-up” by preparing your physical labels before logging the assets in the system.
The “Top-Down” vs. “Bottom-Up” Workflow
There are two main ways to label your assets:
- Top-Down (Standard):
- You add an asset to the system first.
- Then, you generate a QR code for that specific asset.
- Finally, you print and apply the label.
- Bottom-Up (Using Unassigned Codes):
- You bulk-generate a batch of generic, “unassigned” QR codes.
- You print a full sheet of these labels.
- You apply these pre-printed labels to all your tools and assets in the workshop.
- Later, when you add a new asset to the system, you simply scan the already-applied label to instantly link it.
Why Use the Unassigned Workflow?
This workflow is incredibly efficient for labeling a large number of items at once. It separates the physical task of labeling from the digital task of data entry. You can spend an hour labeling everything in your workshop, and then quickly log all the items later by scanning the codes as you go.
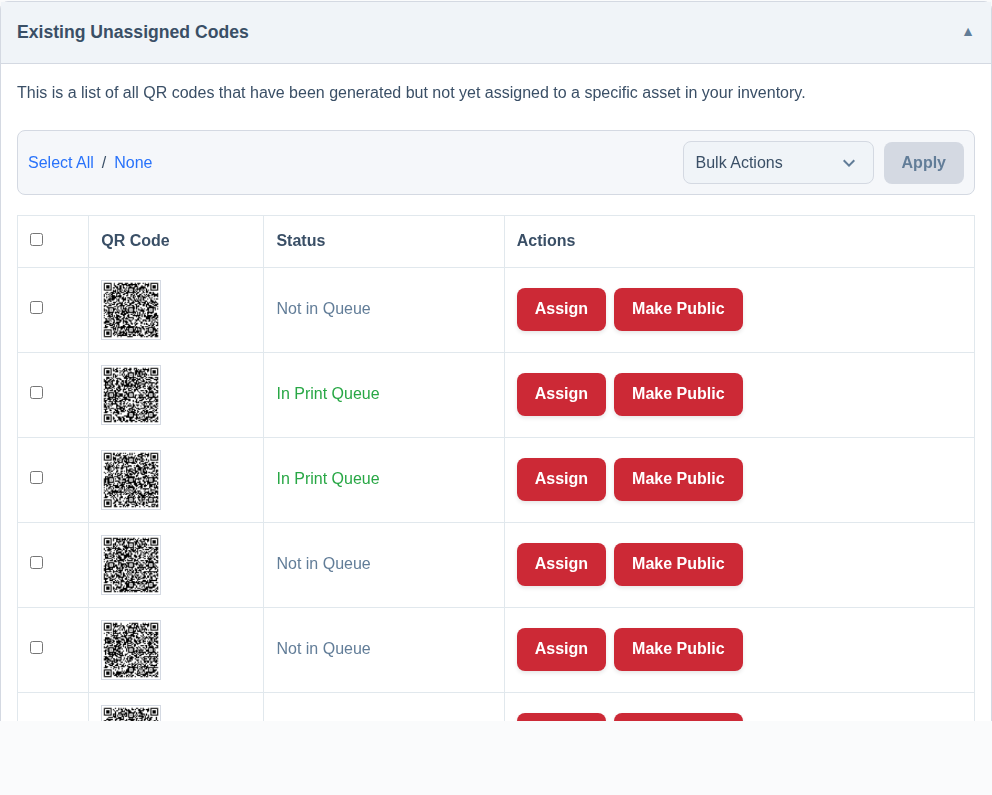
Managing Unassigned Codes
You can manage all your unassigned codes by going to Settings -> QR Codes. Here you will find:
- A button to How to Bulk Generate QR Codes.
- A list of all your existing unassigned codes.
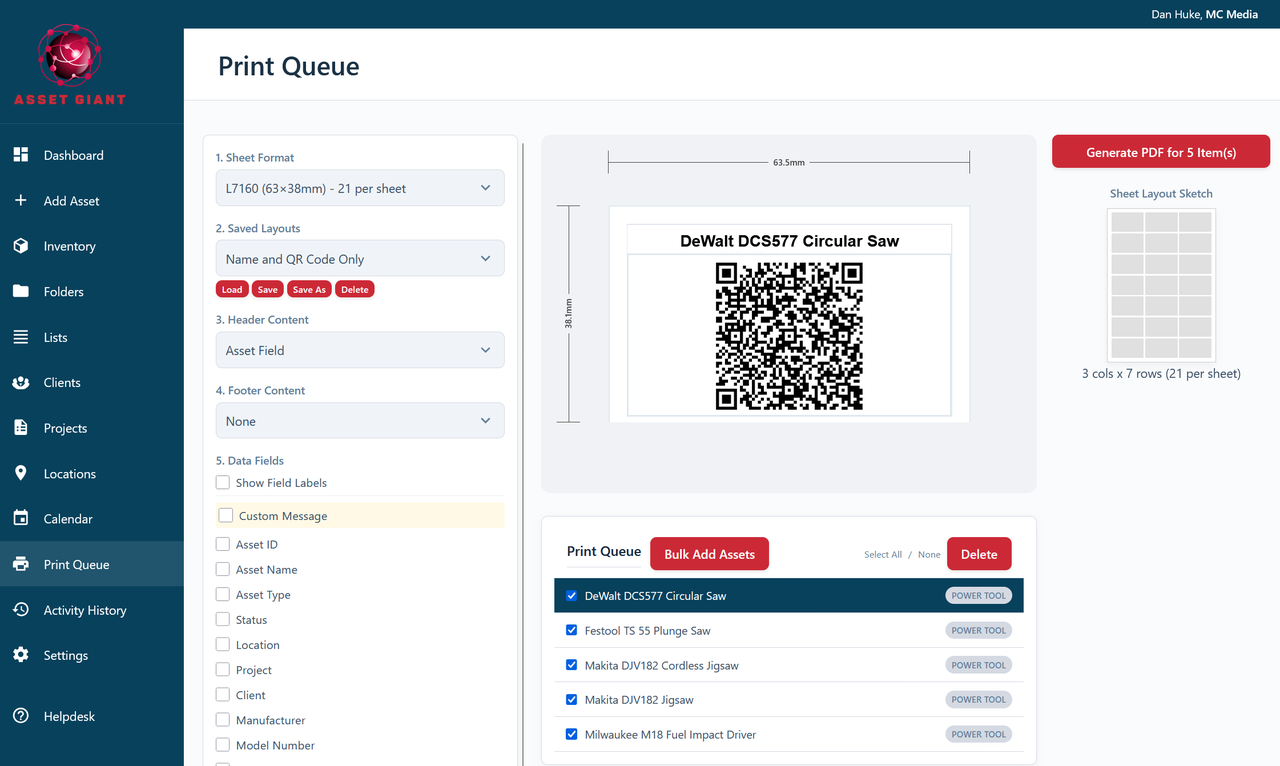
- The ability to add them to the print queue or assign them manually.
Think of an Unassigned QR Code as the digital twin of a physical sticker, just waiting to be linked to an asset.