The Print Queue is designed to make printing large batches of QR code labels simple and precise. It takes your selected assets and arranges them perfectly onto a PDF that matches your physical label sheets.
You can access it from the main menu under Manage -> Print Queue.
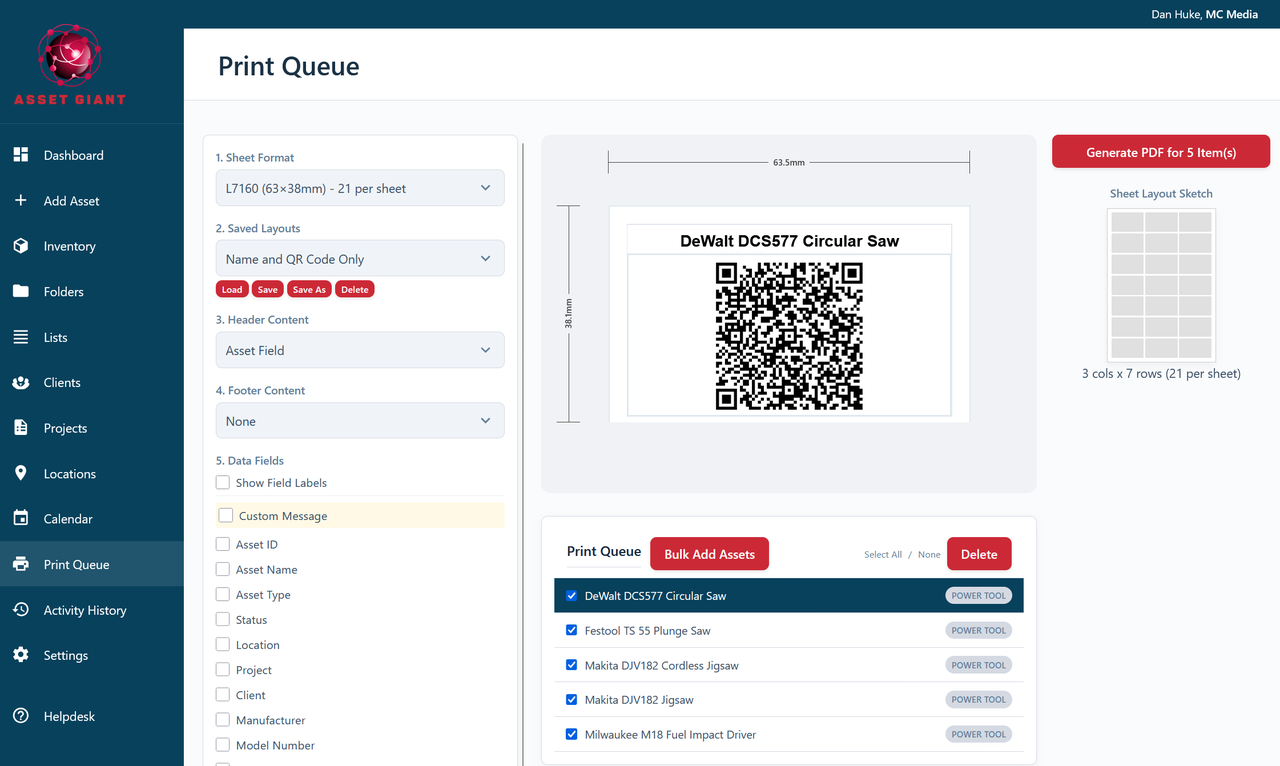
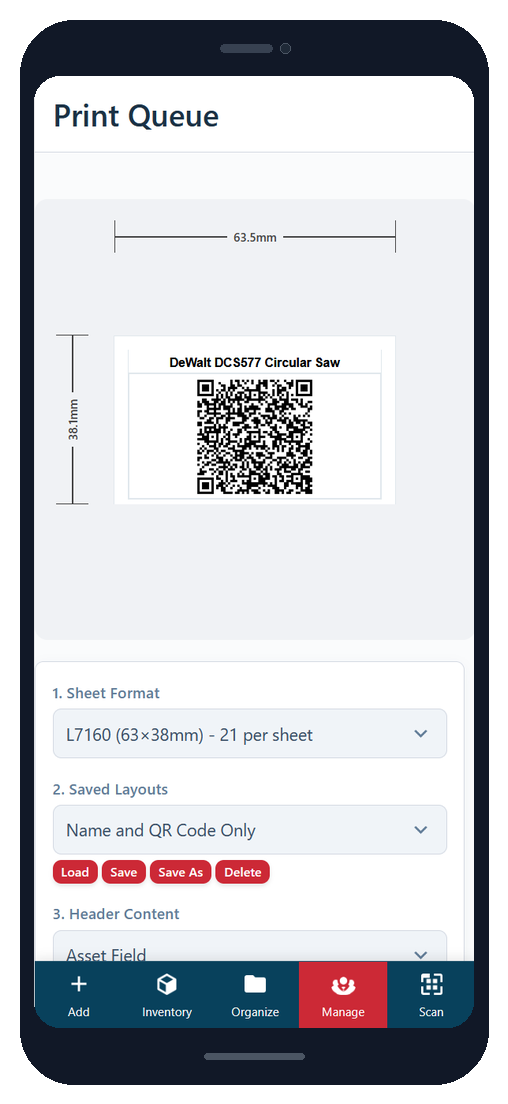
Step 1: Select Your Label Sheet Format
Using the Sheet Format dropdown at the top of the settings panel, choose the label sheet you are using. The list contains popular Avery® A4 formats (such as L7160) and a range of standard label sizes by dimension.
- Finding Your Code: Look on the packaging of your label sheets for a code like “L7160” (a standard Avery code) or “46×21-R” (a dimensional code). Both types are listed in the dropdown.
- Why it’s Important: Selecting the correct layout is critical. The system uses this choice to precisely calculate the margins and spacing needed to ensure your labels print perfectly within the sticker boundaries.
Step 2: Design Your Label
The settings panel lets you decide exactly what appears on each label alongside the QR code. You can keep it minimal for tiny stickers or pack in more detail for larger ones.
- Header and Footer Content: Add a line of text above and below the label. Each can be left as None, set to Custom Text (e.g. “Property of [Your Company]”), or set to an Asset Field that fills in automatically per item.
- Data Fields: Tick the fields you want printed on the label, such as the item name and Asset ID. By default the item name and Asset ID are selected. Don’t worry about fitting too much on — the text automatically shrinks to stay inside the label, so nothing ever spills onto the next sticker.
- Visuals & Scale: Choose whether to show the QR code, your logo, and the asset photo, and use the sliders to size each one. You can also set the text sizes and the Background, Text and Border colours.
- Border: Tick Border to frame each label with an outer line, then set its thickness in millimetres and pick its colour. The border always prints just inside the label edge, so your text never runs into it.
- Edge Spacing: This sets the padding (in millimetres) between the edge of the label and its contents. Increase it for more breathing room around busy labels, or leave it at 0 to use the full label area.
- Saved Layouts: Once you have a design you like, use Save to store it as a reusable layout so you don’t have to set it up again next time.
The preview on the page updates as you make changes, so you can see what the finished label will look like before you print.
Step 3: Select Items to Print
The page is divided into sections: “In Print Queue” and “All Other QR Codes”.
- Any asset you’ve flagged by clicking “Add to Print Queue” on its edit page will appear in the top section.
- You can also select any other asset that has a QR code from the sections below.
Click on the cards for each asset you wish to print. A blue border will indicate that it is selected. You can use the “Select All” / “None” links to speed up this process.
Step 4: Generate PDF
Once you have selected your items, the “Generate PDF” button will become active and show how many items you’ve chosen. Click it.
Your browser will generate and open a PDF file in a new tab. Simply print this file at 100% scale (or “Actual Size”) onto your label sheet for perfectly aligned QR code labels.