The “QR Code” card only appears when you are editing an existing asset. It is your hub for creating, viewing, and managing the QR code linked to that specific item.
If No QR Code Exists
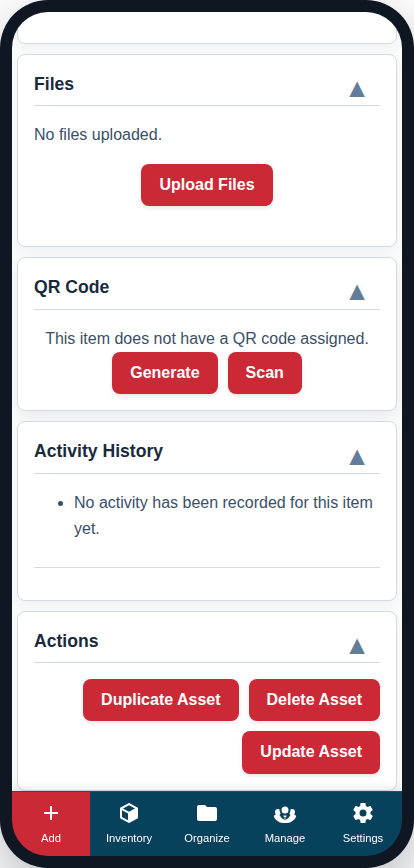
If the asset does not have a QR code, you will see two options:
- Generate: Click this to create a new, unique QR code and assign it to this asset. The page will update to show you the new code. This is the most common action.
- Scan: This allows you to assign a pre-printed “Unassigned QR Code” to this asset by scanning it with your device’s camera. See our guide on What are ‘Unassigned QR Codes’? for more on this workflow.
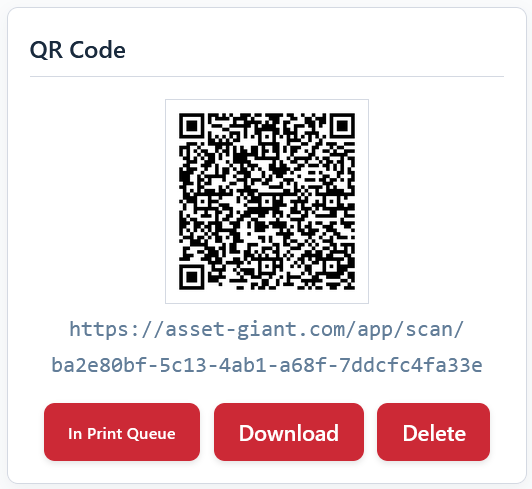
Once a QR Code is Generated
After a code is generated, the card will display the QR code image and its unique URL. You will have new actions available:
- Add to Print Queue: This is the most important button. Clicking this adds the asset to the main Print Queue, where you can batch it with other labels to print a full, perfectly aligned sheet of labels. The button will turn green and say “In Print Queue” to confirm it has been added. You can click it again to remove it.
- Download: This immediately downloads the QR code image as a PNG file to your computer. This is useful if you only need to print a single label quickly using your own software.
For a full guide on printing, see Using the Print Queue.