
Putting a QR label on a tool means anyone can scan it with their phone to pull up that asset in seconds — to check it in or out, see where it is, or report a problem. There are two ways to get there: do one asset at a time, or bulk-add a whole batch and let the system generate any codes that are missing. Both end at the same place — the Print Queue, where you lay the labels out and print them.
Method 1: Print a label for a single asset
Step 1: Generate the QR code
Open the asset (from your Inventory, tap the asset to open it) and find the QR Code card. If the asset doesn’t have a code yet, you’ll see “This item does not have a QR code assigned.” — tap Generate.
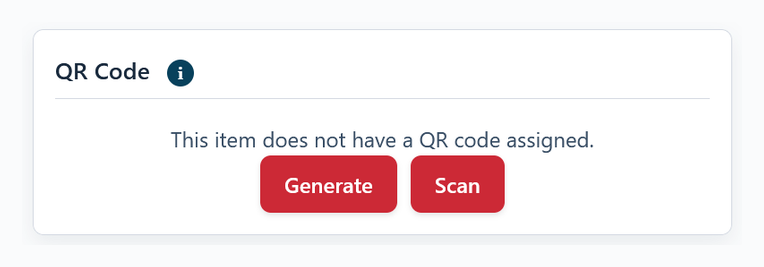
The Scan button next to it is for the opposite situation — assigning an existing, pre-printed sticker to this asset by scanning it (see Print QR Labels Now and Assign Them to Assets Later).
Step 2: Add it to the Print Queue
Once generated, the card shows the QR code, its scan link, and three buttons. Tap Add to Print Queue to send this label off to be printed.
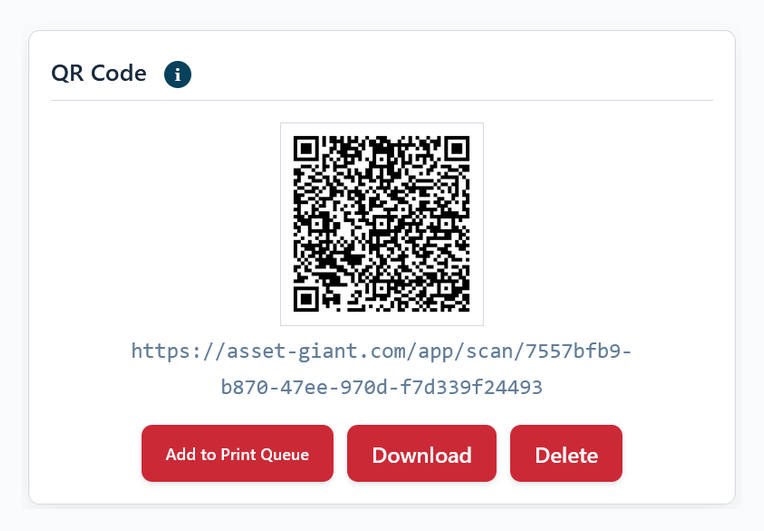
The other two buttons: Download saves the QR code as an image (handy if you want to print it elsewhere), and Delete removes the code from the asset.
Step 3: Lay out and print
Go to Manage → Print Queue. Every asset you added is waiting there. Pick your label sheet format, choose a layout template, set what appears on each label (header, footer and data fields), check the live preview, then tap Generate PDF and print it.
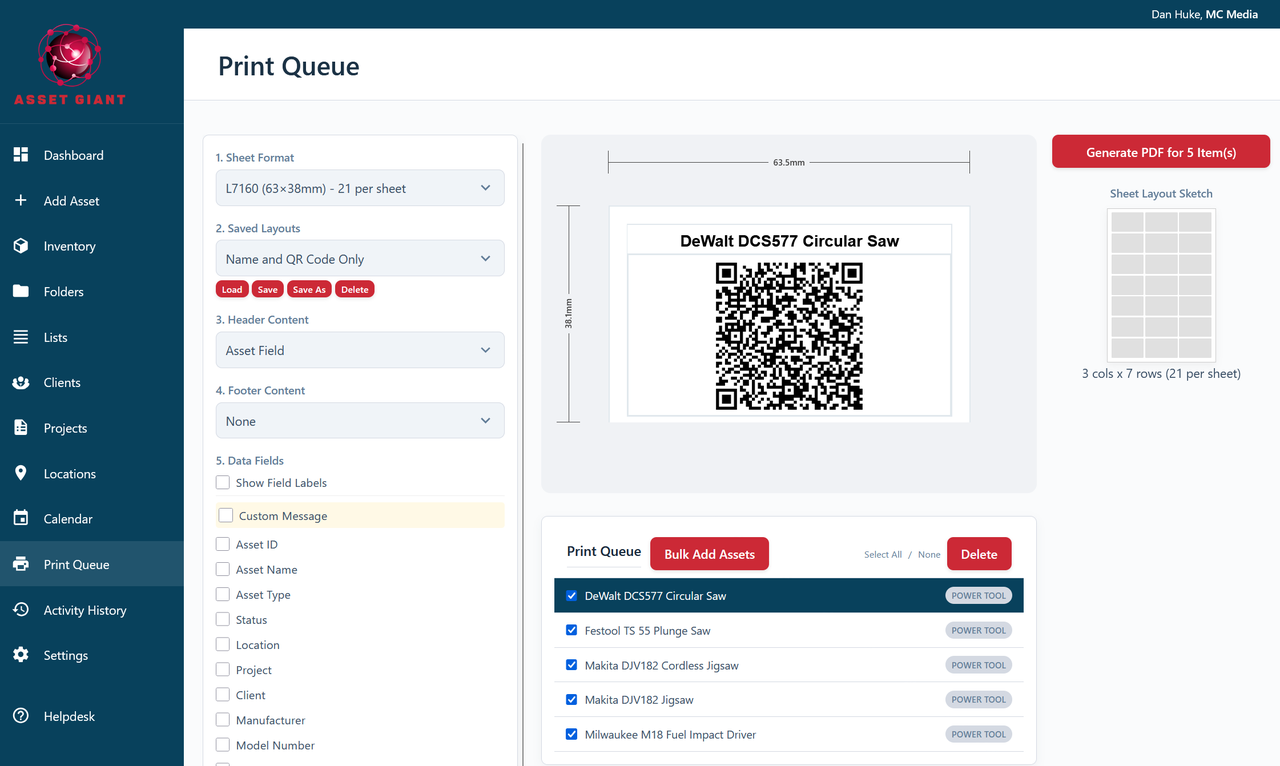
For a full tour of every Print Queue control, see Print a Sheet of Labels from the Print Queue.
Method 2: Bulk-add a whole batch
Adding assets one by one is fine for a label or two, but to tag a whole van or workshop, use the bulk path instead.
On the Print Queue page, tap Bulk Add Assets, then select the assets you want (you can grab a whole location or folder at once). Asset Giant adds them all to the queue and — importantly — automatically generates a QR code for any selected asset that doesn’t already have one. You don’t have to visit each asset first; anything missing a code gets one on the spot.
From there it’s the same as Step 3 above: choose your sheet and layout, and Generate PDF.
Make sure they scan
However you print, a label is only useful if it reads reliably in the field. Before you print a big run, it’s worth a quick read of Best Practices for Printing Clear, Scannable Labels for label size, material and contrast tips that keep your codes scanning for years on site.
Choosing what to buy before you print — which sheet size suits which kit, and which label material lasts outdoors — is covered in QR Code Asset Tags & Labels.