In Asset Giant, a “Project” can represent any distinct job, service call, or work order you perform. By linking assets to a project, you can easily see everything you need for that specific job.
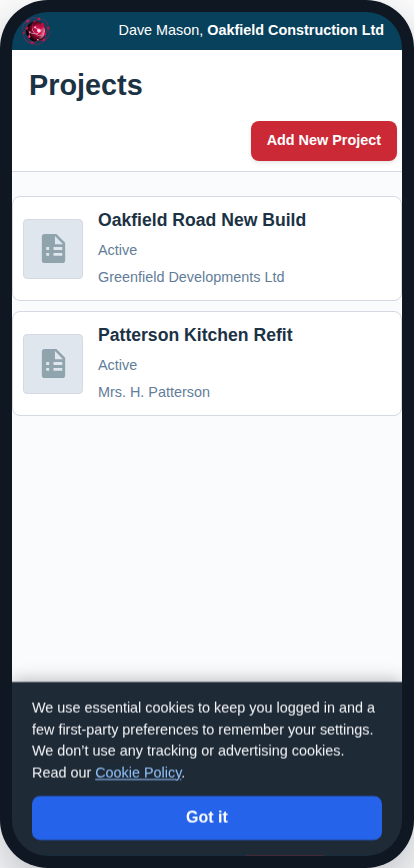
Finding the Projects Page
You can view your list of projects by navigating from the main menu to Manage -> Projects.
Creating a New Project
- From the Projects Viewer page, click the “Add New Project” button in the header.
- On the “Add/Edit Project” page, fill in the project’s details:
- Project Name: A descriptive name for the job (e.g., “Kitchen Remodel – 123 Main St”).
- Project Number: An optional internal job number or code.
- Status: The current status of the project. Choose from Upcoming, Active, On Hold, Completed, or Cancelled.
- Client: Link this project to a client you have already created. See How to Add and Manage Clients.
- Start/End Date: The planned dates for the project.
- Click “Save Project”.
Viewing a Project’s Assets
When you are editing an existing project, a card will appear at the bottom of the page titled “Assets Assigned to This Project.”
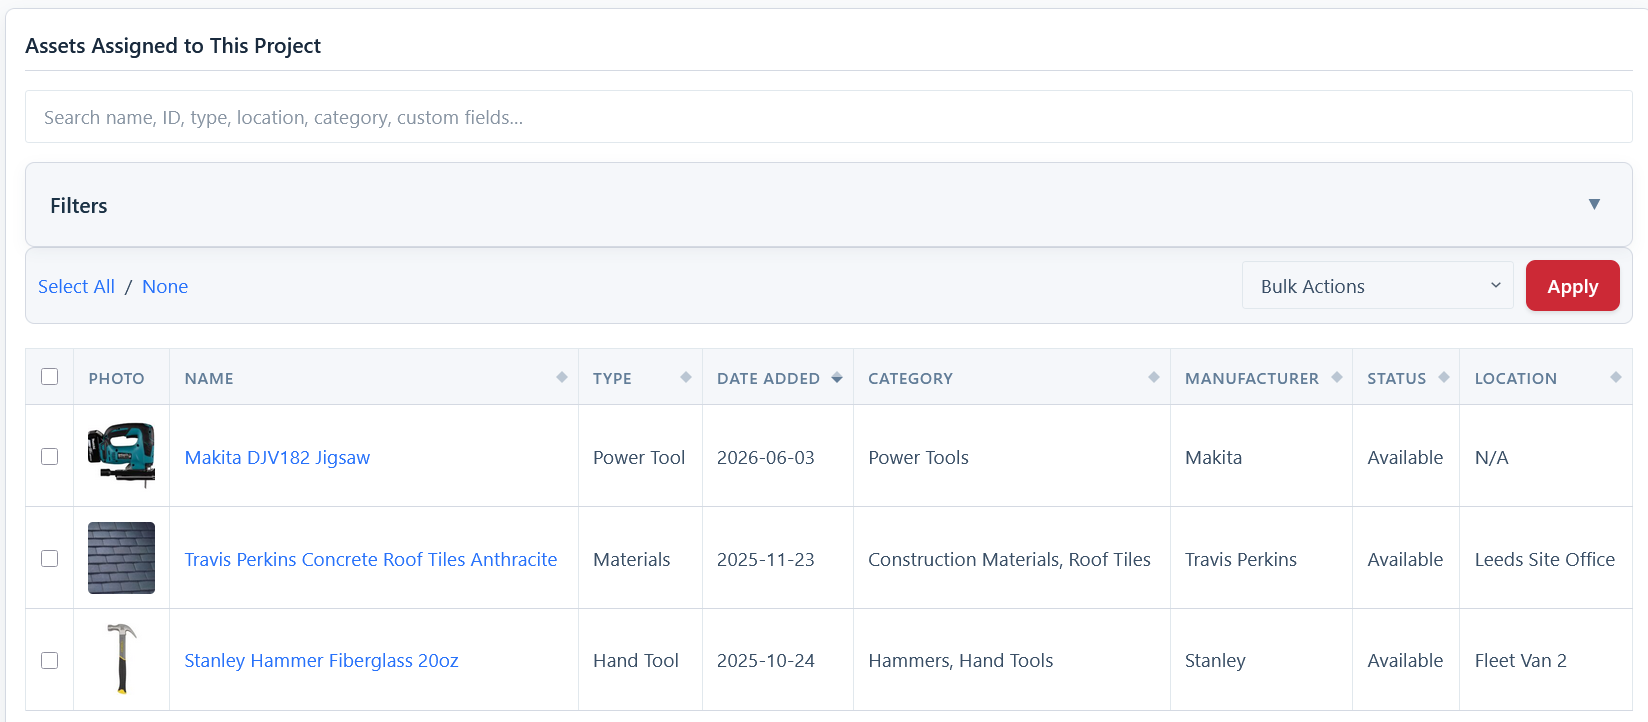
This embedded inventory viewer shows you every tool and asset that has been assigned to this specific project. From here, you can use bulk actions to manage these items, such as adding them all to a “Job Box” list or checking them out to a new location.