A Stocktake (or inventory audit) is the process of verifying exactly which assets are physically present at a specific location. Asset Giant makes this easy by comparing what you scan with what the system expects to find at that location.
Starting a Stocktake
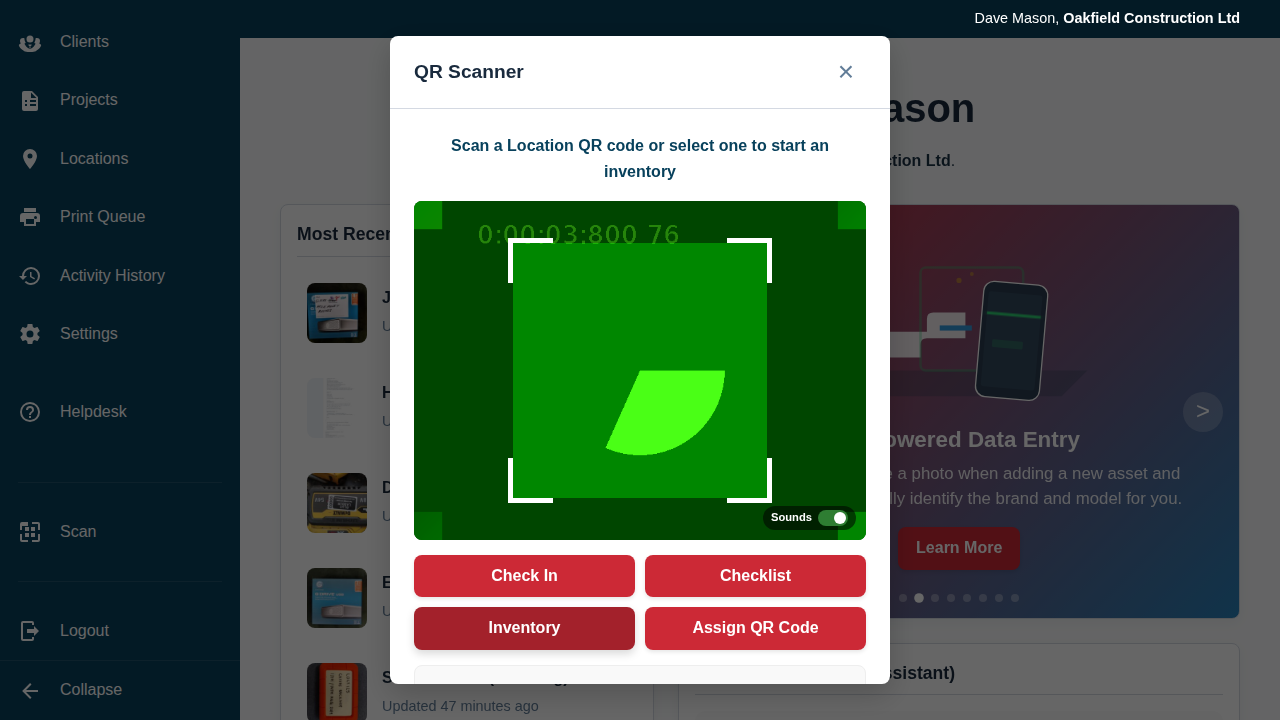
- Open the QR Scanner and tap the Stocktake button.
- The system will prompt you to scan a Location QR code.
- If you don’t have a QR code for the location, select the location name from the dropdown menu and tap Start Stocktake.
Scanning Your Assets
Once the location is set, the camera stays open and the running list of scanned items appears below it, allowing you to scan assets one after another.
- As you scan, the items will appear in a list below the camera, each with a Remove button in case of a mis-scan.
- The system will automatically prevent duplicate scans of the same item.
- If you scan an item that was previously recorded at a different location, it will automatically be updated to this new location.
Reconciling Missing Items
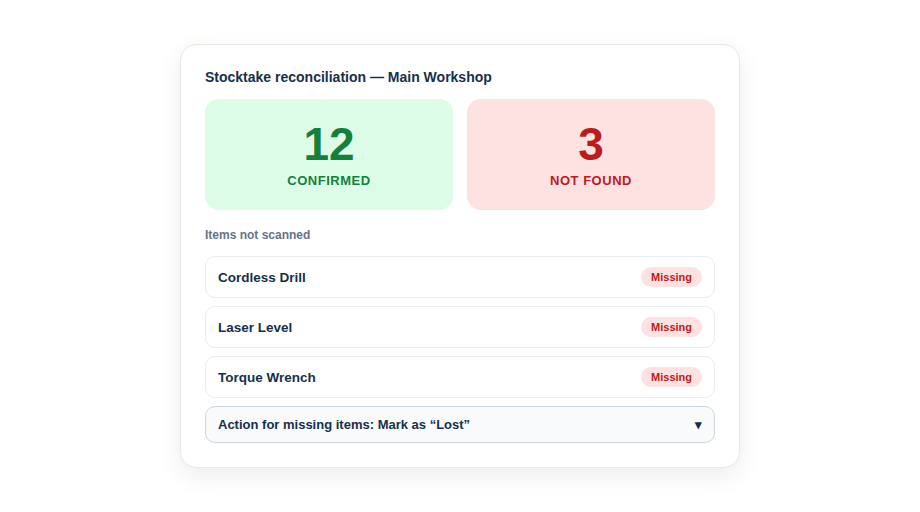
When you have scanned everything at the location, tap Finish Stocktake. The system will now show you a summary:
- Confirmed Items: The number of assets you just scanned.
- Missing Items: Assets that the system thought were at this location but were not scanned during this session.
If there are missing items, you can choose what to do with them all from the dropdown:
- Do nothing (keep as is): Leave them recorded at this location (maybe they were just missed).
- Set status to…: Choose a status from a second dropdown — for example “Lost” for items that can’t be found, or “Used” for consumables that have been depleted.
- Move to another location…: Pick a different location to move all the missing items to.
- Clear location (mark unaccounted for): Remove the items from this location without deleting them.
- Move to Trash: Move the missing asset records to the Trash.
Viewing History and Reports
After clicking Save & Close, a formal record of the stocktake is created.
- You can view the full report by clicking Print List immediately after finishing.
- You can go to the Edit Location page to see a full Stocktake History card listing every stocktake performed at that spot.
- The Activity History will also contain a link to the detailed report.
Best Practice: Perform a stocktake once a month for high-traffic locations (like a main warehouse) and after every major project for mobile locations (like service vehicles).