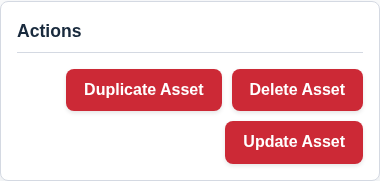
The “Actions” card, located at the bottom of the Add/Edit Asset page, contains buttons for finalising your changes. It always holds the main “Save Asset” / “Update Asset” button, and when you are editing an existing asset it also offers a “Duplicate Asset” button (handy for creating a near-identical copy of a tool) and the “Delete Asset” button covered in this guide.
How to Delete an Asset
- Navigate to the asset you wish to delete.
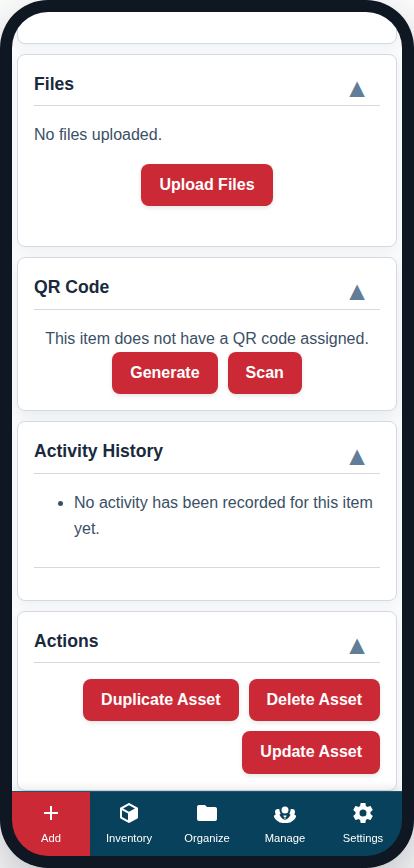
- Scroll to the bottom of the page and find the “Actions” card.
- Click the red “Delete Asset” button.
- A confirmation prompt will appear in your browser to prevent accidental deletion. Click “OK” to confirm.
What Happens When You Delete an Asset?
The “Delete” action is a safe operation. It does not permanently erase the asset immediately. Instead, it moves the asset to the Trash.
- Restoration: Items in the trash can be restored by an administrator from the standard WordPress admin dashboard if needed.
- Data Integrity: Moving an asset to the trash will remove it from all Lists and Folders, and it will no longer be visible in your main inventory.
Note: The “Delete Asset” button is only available when editing an existing asset. It will not appear on the page when you are creating a new one.