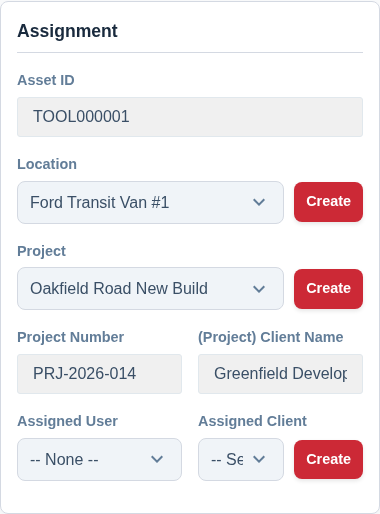
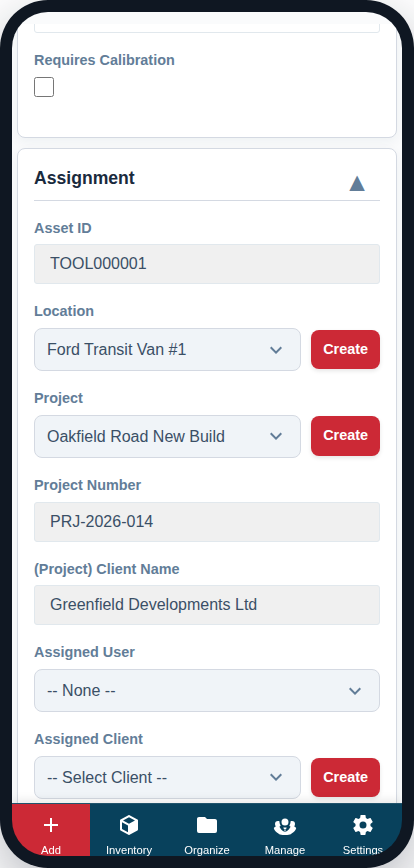
The “Assignment” card is where you link an asset to the real world—its physical location, the job it’s on, the client it’s for, and the person responsible for it.
Assigned now, or booked for later?
It helps to keep two related-but-different ideas apart:
- Assignment (this card) is where an asset belongs right now — its location, project, client and user. Each is a single value with no dates, so an asset can be assigned to only one project at a time.
- A booking is a reservation for a date range on the Calendar. The same asset can have many bookings, across different projects and dates. See Reserving Assets for a Project.
The two stay in step automatically: when a confirmed booking’s start date arrives, Asset Giant fills in the asset’s project, client and location from that booking (see Set automatically by bookings below). A scan-based check-in or check-out is separate again — it only ever changes the asset’s location, never its project, client or user.
Asset ID
This field is read-only. When you save a new asset, the system will automatically generate its unique Asset ID and display it here. For more information, see How Asset IDs are Generated.
Location
This is one of the most important fields. It tracks the physical location of the asset.
- Best Practice: Create locations for all your key storage and work areas, such as “Main Workshop,” “Storage Unit B,” and each of your company vehicles (e.g., “Ford Transit #1”). This gives you a clear overview of where everything is.
- Create on the Fly: If a location doesn’t exist yet, you can click the “Create” button next to the dropdown to add it without leaving the page.
Project
Link the asset to a specific job or project you are working on.
- When you select a project from the dropdown, the Project Number and associated Client Name will automatically populate in the read-only fields below. This confirms you’ve selected the right job.
- Like locations, you can click “Create” to add a new project instantly.
Assigned User
Assign the asset to a specific team member. This is a great way to formally check out a tool to a person, making them responsible for it.
Assigned Client
Directly link an asset to a client. This is useful for tracking equipment that is permanently installed at a client’s site or is on a long-term loan to them.
Set automatically by bookings
These fields can be filled in by hand at any time, but they are also updated automatically by the booking Calendar. When a confirmed booking goes live, Asset Giant sets the asset’s Project, Client and Location to match whatever the booking specified, and logs the change in the asset’s history. This keeps “where it should be” in step with your plan without you having to touch each asset by hand. To plan bookings, see The Calendar: Planning, Booking and Reschedule by Drag.