
Skip the typing. Asset Giant does AI asset identification straight from your camera: photograph a tool and the AI recognises the item, then proposes its name, make, model and category — turning the most tedious part of building an inventory into a couple of taps.
It works the same way on a phone in a van as it does on a laptop at a desk, and every suggestion is yours to accept, edit or ignore before anything is saved.
What AI asset identification is
AI asset identification is software recognising a piece of equipment from a photograph and filling in the record for you, instead of you typing a name, hunting down a model number and picking a category by hand.
In Asset Giant it is three steps and one button. You attach a photo to an asset — taken on your phone there and then, or uploaded from your computer — and tap Identify image. The AI reads the picture and comes back with what it believes the item is, laid out field by field beside whatever the record already holds, for you to approve.
The result is a complete, properly categorised asset record built from a picture, which is a very different proposition from a blank form and a keyboard.
Logged. ✓ Logged in seconds
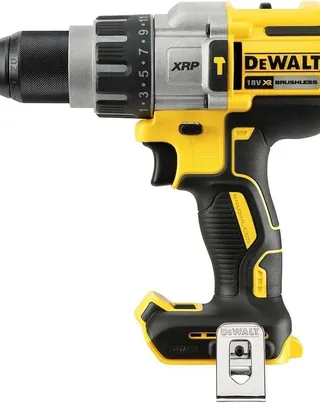
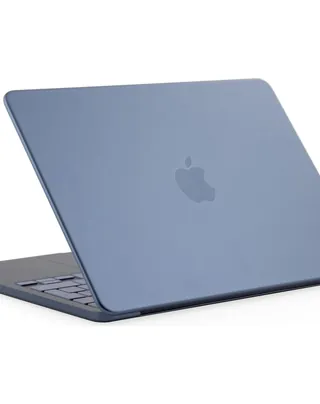
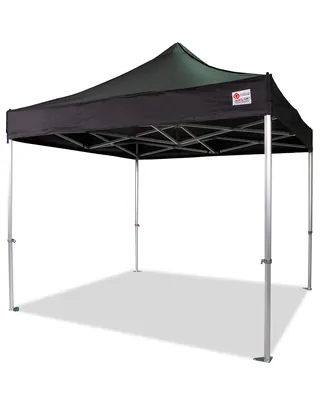
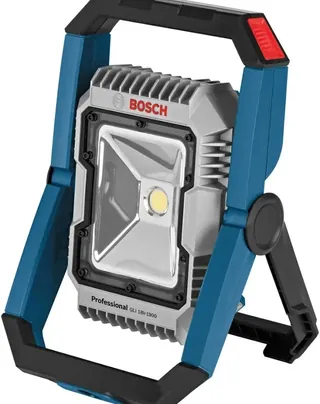
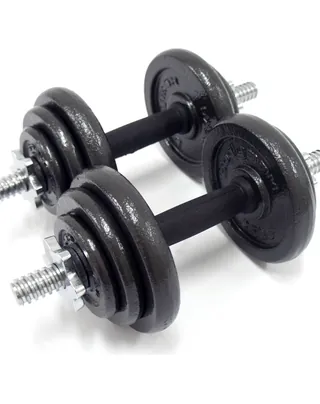
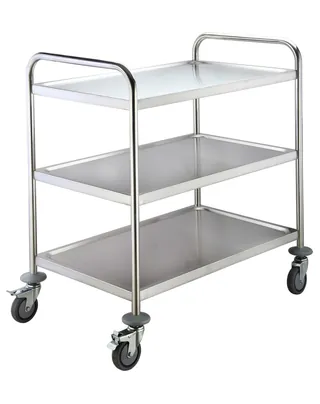
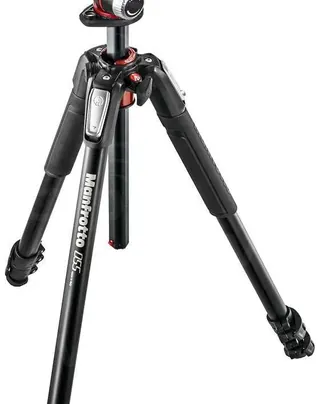
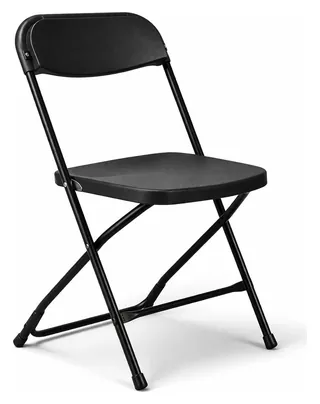 Cordless Drill
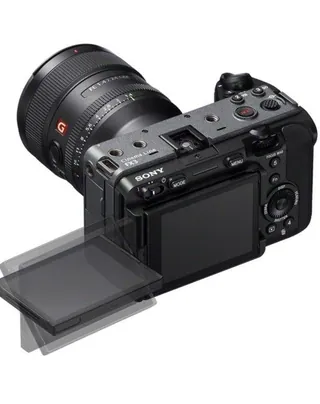
Cinema Camera
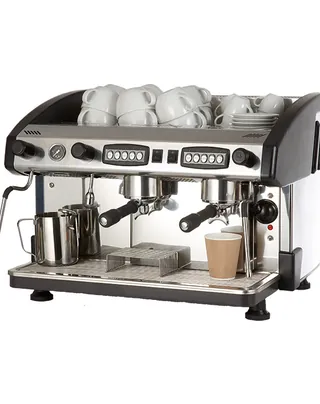
Coffee Machine
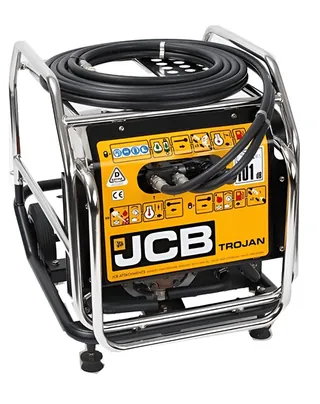
Portable Generator
Laptop
Pop-up Gazebo
LED Floodlight
Dumbbells
Service Trolley
Camera Tripod
Folding Chair
DeWalt · 18V
Sony · Full-frame
NC2 · Two-group
JCB · Petrol
Apple · 14-inch
Canopro · 3x3m
Bosch · 18V
BodyMax · 20kg
Adexa · 3-tier
Manfrotto · Alu
Samsonite · 80cm
Cordless Drill
Cinema Camera
Coffee Machine
Portable Generator
Laptop
Pop-up Gazebo
LED Floodlight
Dumbbells
Service Trolley
Camera Tripod
Folding Chair
DeWalt · 18V
Sony · Full-frame
NC2 · Two-group
JCB · Petrol
Apple · 14-inch
Canopro · 3x3m
Bosch · 18V
BodyMax · 20kg
Adexa · 3-tier
Manfrotto · Alu
Samsonite · 80cm
From photo to a complete record in seconds
The flow is deliberately simple enough to use one-handed on site, straight after picking up a tool:
- Add a photo of the item, taken on your phone or uploaded from your computer.
- Tap Identify image.
- The AI examines the photo and suggests the item’s name, manufacturer, model and category.
- You review the suggestions, adjust anything you want, and save.
Here is that happening on a real record. A cordless jigsaw has been photographed and added with nothing but a working name — no make, no model, no category, no type:
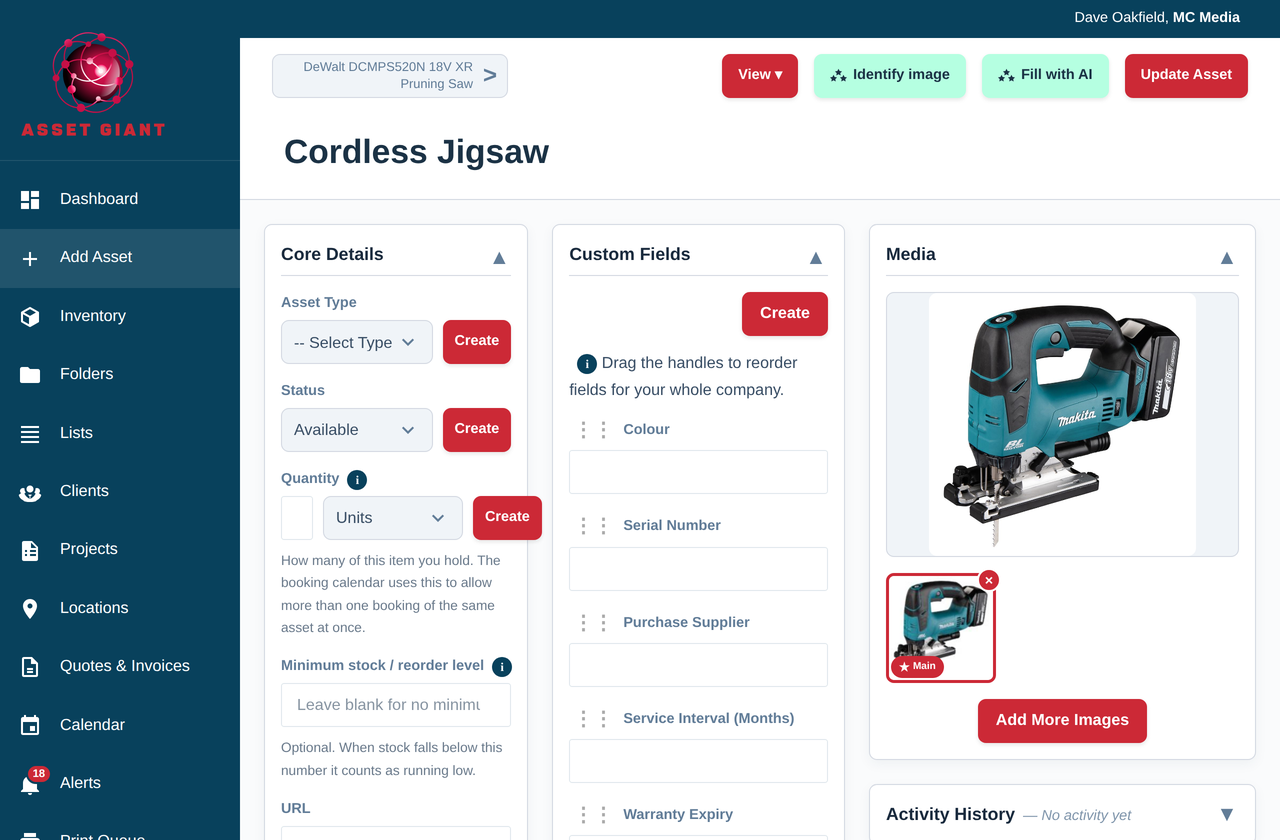
One tap of Identify image and the same photograph comes back as a filled-in record. The AI has read the tool as a Makita DJV182Z 18V Cordless Jigsaw, set the manufacturer, the model and the asset type, and found a product link — each one sitting beside the empty current value, ticked and waiting for you to accept it:
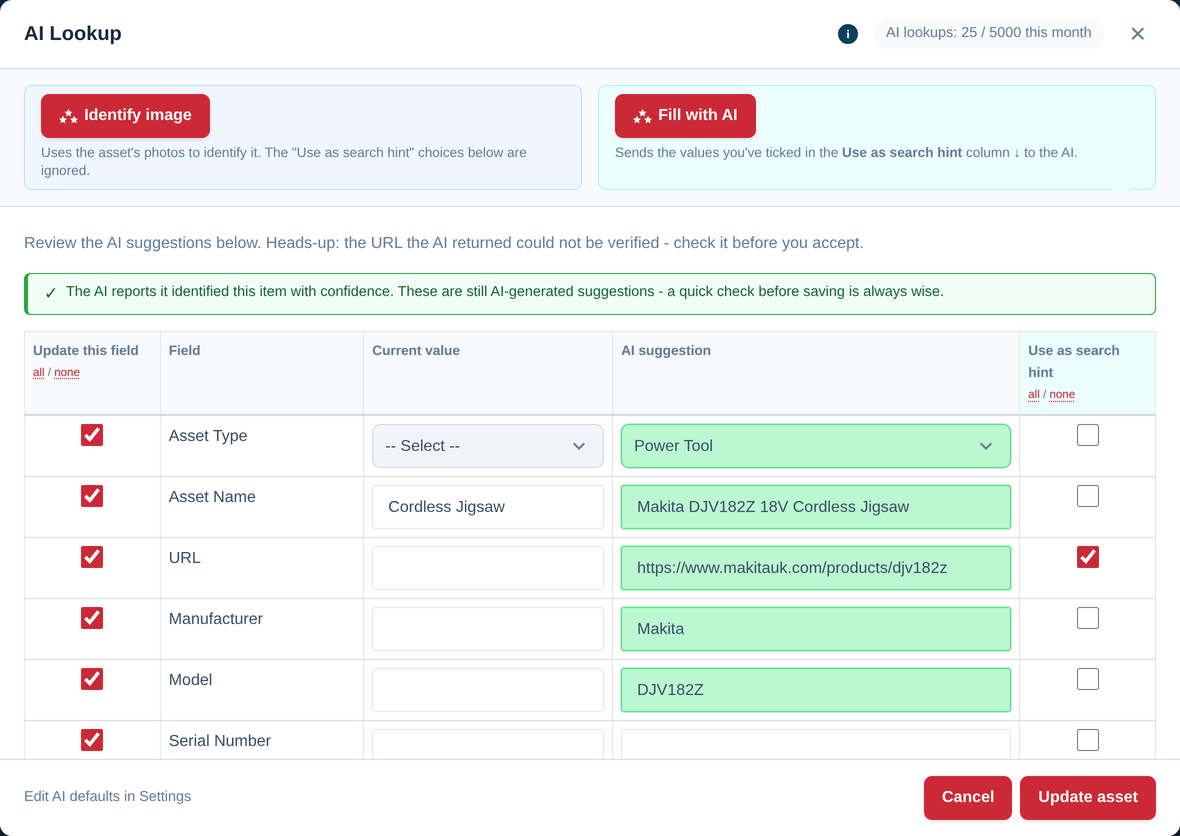
Look at the line above the results in that second shot. Asset Giant checks the product link the AI returns and says plainly when the page does not resolve, which is exactly what happened here — the tool was identified correctly and the link it offered was not real. You are told, so you can drop that one row and keep the rest.
Because every result is presented for your approval before it is saved, you get all the speed of automation without surrendering control of your data — a point explored further under You Stay in Control of AI Suggestions.
What the AI fills in for you
A single photograph is enough to populate most of an asset record. These are the fields the AI proposes, and what it puts in each:
| Field | What the AI suggests |
|---|---|
| Asset Name | The item as you would refer to it — “Canon RF 70-200mm f2.8L IS Lens”, “DeWalt 18V Circular Saw”. |
| Manufacturer | The brand it recognises from the body, the badge or the rating label. |
| Model | The specific model designation, which is the field a serial number or a warranty claim usually hangs off. |
| Category | The category it belongs in, chosen from the ones you already use rather than invented. |
| Asset Type | The type of thing it is, so the record files itself correctly from the start. |
| URL | A link to the manufacturer’s page for the product, so the full specification is one tap away. |
| Your custom fields | Anything you have added yourself is offered too, with the AI describing what belongs there when it cannot read the value from the photo. |
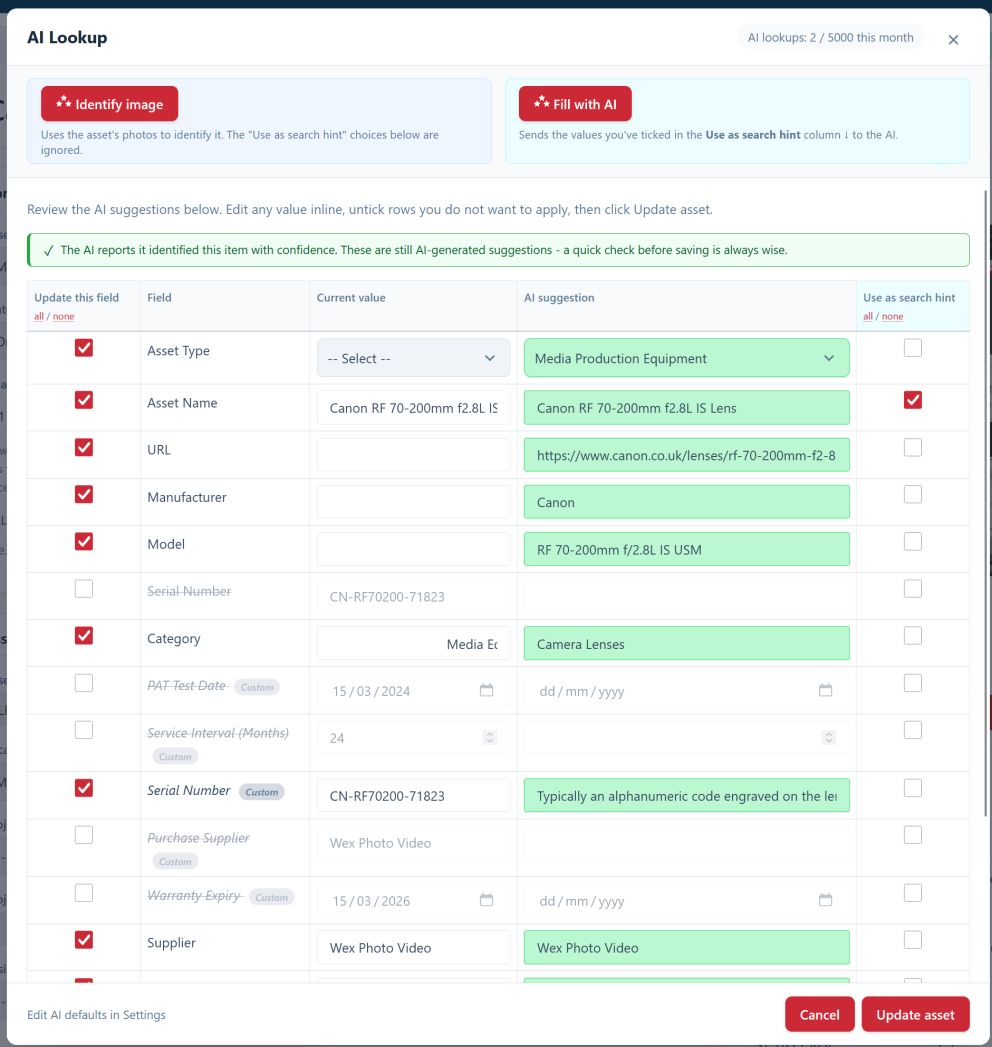
Some fields the AI will deliberately leave alone. A serial number is unique to your individual item and cannot be read from a general photograph, so unless it is legible on a label in the shot you will be told what to look for rather than given a guess.
Building an AI asset inventory from what you already own
The thing that makes an AI asset inventory realistic is that the equipment you own is already in front of you. You do not have to find paperwork, dig out invoices or remember what you bought in 2019 — you walk the van, the store or the flight cases with a phone and photograph what is there.
When adding an asset takes seconds rather than minutes, several things follow:
- You can start from the backlog, not just from new purchases. Cataloguing kit you already own is the part that usually never happens, and it is exactly the part a camera makes quick.
- The data is more consistent. Names, manufacturers and categories follow a sensible pattern even when several different people are adding items.
- There is nothing to learn. If a member of staff can take a photo, they can add an asset — so the whole team can contribute, not just the office.
- Every record arrives ready to use. A named, categorised asset with a manufacturer and model on it can be found by search, filtered, put on a QR label and booked out the moment it is saved.
From there the rest of the system has something to work with: see QR Code Asset Tags & Labels for putting a printed label on each item, and How to Add Your First Asset for the step-by-step of adding one.
Photos that get an accurate result
The AI is only ever as good as what you point it at, and the difference between a vague answer and an exact one is usually the photograph rather than the tool.
- Aim at the rating label first. A clear, close-up shot of the data plate — manufacturer, model number and serial number together — is the single most useful picture you can take.
- One item per shot. A bench full of tools gives the AI several things to choose between.
- Good, even light, and a plain background. Shadows hide the printed detail the AI reads.
- Use more than one photo. Every photo attached to the asset is sent together, so a shot of the badge and a shot of the plate can go in as a pair.
The full guide, with real examples of shots that work and shots that do not, is in Best Practices for Taking Asset Photos for AI. There is more on the habits behind a good photo in our guide to photographing assets for AI.
When you know what it is but have no photo
Not everything gets catalogued with the item in your hands. Logging kit from a delivery note or an invoice at a desk is a different job, and it has its own tool: type in the make and model you already know and let the AI find the rest. That is Fill in Details from a Make and Model, and it opens the same review window, so the two routes feel identical from the moment the suggestions arrive.
You approve every suggestion
Nothing the AI proposes is written to an asset until you have seen it and said yes. The review window shows the current value and the suggested value side by side, with a tick-box on every row, so you can take the model number and keep your own wording for the name. More on that in You Stay in Control of AI Suggestions.
What it costs: AI is included on the free plan
AI asset identification is part of Asset Giant on every plan, the free one included — there is no AI add-on and no card needed to use it.
The Free Forever plan includes 100 assets, 1 team member, 50 MB of file storage and 1 custom field, plus 25 AI lookups and 25 AI assistant messages every month. Alerts are not included on this plan. There is no card to enter and no time limit — it stays free for as long as you use it. If you reach a limit, nothing is deleted — your work is kept exactly as it is, and upgrading gives you more room straight away. Activity history covers the last month, and you can export your assets at any time.
Paid plans raise the monthly allowance considerably; the figures for each are on the pricing page.
Best Practice: Photograph the whole item against a plain, uncluttered background in good light, and add a second close-up of the rating label. A clean shot gives the AI the best chance of identifying the tool precisely — busy backgrounds and poor lighting are the main causes of vague results.
For the full walkthrough of the button itself, see Using AI to Fill in Asset Details, and for the AI’s read on your particular trade see AI Tuned to Your Business.