Lists are flexible collections of assets used for specific tasks, like packing for a job or creating a safety checklist. You can manage all your lists from the Lists Viewer page, found under Organize -> Lists in the main menu.
For an overview of what lists are for, see Understanding Folders, Lists, and Categories.
Creating a New List
- Navigate to the Lists Viewer page.
- Click the “Create New List” button in the header.
- A prompt will appear asking for a name for your new list. Enter a descriptive name (e.g., “Saturday Wedding — Grand Hotel”, “Crew Van #1 Loadout”).
- After you enter the name, you will be taken directly to the Manage List page for your new, empty list.
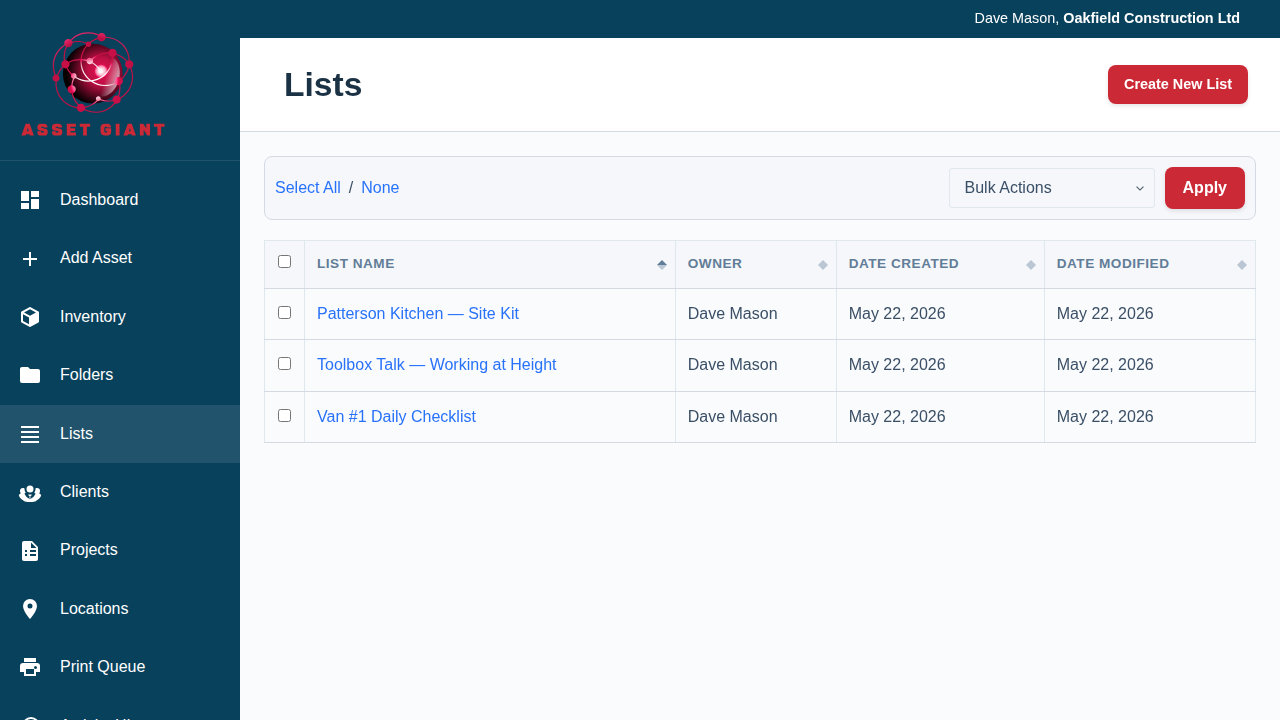
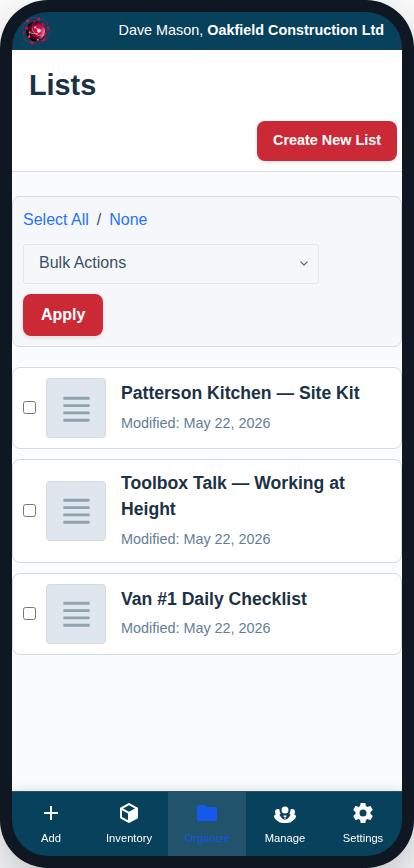
Managing Existing Lists
The main table on this page shows all lists created by your company.
- To Edit a List: Click on the list’s name. This will take you to the Manage List page where you can add or remove items, add section headings, and reorder the contents. See Editing a List: Reordering Items and Adding Sections for more details.
- To Delete Lists: Use the checkboxes to select one or more lists. Then, from the “Bulk Actions” dropdown at the top of the table, select “Delete” and click “Apply”.
Adding Assets to a List
There are two main ways to add assets to a list:
- From the Inventory Viewer: Select multiple assets using the checkboxes and use the “Add to List…” bulk action.
- From the Add/Edit Asset Page: Use the “Folders & Lists” card to add the specific asset you are editing to any list. See Card Focus: Folders & Lists.