The Check In workflow is designed for speed. Use this when you are moving a set of equipment from your main storage to a specific project site or vehicle, so the system always knows where each item is.
Setting the Destination
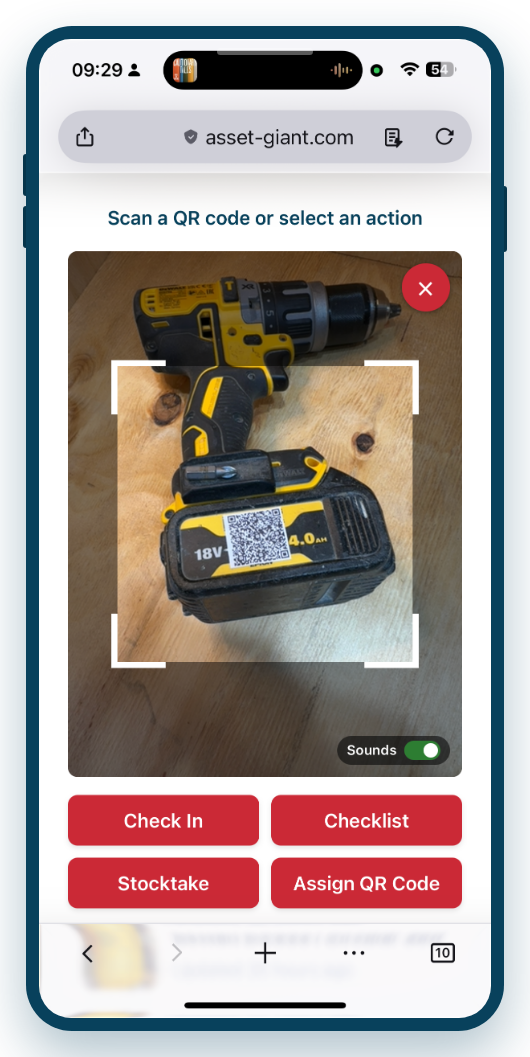
- Open the QR Scanner and tap Check In.
- The system will ask where the items are being checked in.
- Set the Destination: Either scan the QR code of the target location (or vehicle) or select it from the dropdown menu.
- Tap Start Check-In to begin. The camera will stay open, ready for you to scan.
Batch Scanning
With the destination set, you can now scan your assets rapidly:
- Point the camera at an asset’s QR code.
- As soon as it’s recognised, the item is added straight to the session list below the camera — there’s no need to confirm each one, so you can keep scanning without pausing.
- Each scanned item shows its name with a Remove button, so you can take an item back out of the batch if you scan something by mistake.
Completing the Session
When you have finished, tap Finish Check-In. A summary message will confirm exactly how many items were checked in to the destination.
What this changes: Checking an item in updates its Location to the destination you chose. The item’s status and assigned user are left exactly as they were — Asset Giant keeps a record of who moved what and when in each asset’s Activity History instead.
Tip — Check Out: If you scan a single asset on its own (without setting a destination first), the result card also offers a Check Out button. Checking out simply clears the asset’s location, marking it as having left that place. As with Check In, this never changes the asset’s status.