While Asset Giant comes with a set of default statuses like “Available” and “On-Site,” every business has its own unique workflow. You can customize the list of statuses to fit yours perfectly.
How to Manage Statuses
- Navigate to Settings from the main menu.
- Click on the “Preferences” tab.
- Find the “Status Definitions” card.
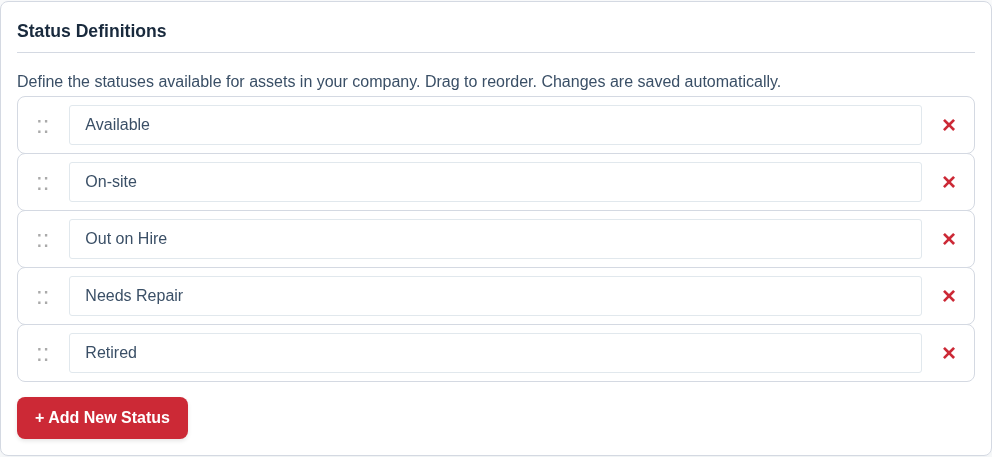
Customizing Your Status List
This interface is designed for quick and easy editing:
- To Add a Status: Click the “+ Add New Status” button. A new empty field will appear at the bottom of the list. Type the name of your new status.
- To Reorder Statuses: Click and hold the drag handle (the :: icon) on the left of a status and drag it up or down to a new position in the list. This will change the order they appear in dropdown menus across the app.
- To Rename a Status: Simply click into the text field of any status and edit its name.
- To Delete a Status: Click the red ‘X’ button on the right side of the status you wish to remove.
Changes are saved automatically a moment after you stop making edits.
Why Create Custom Statuses?
Custom statuses allow you to track the specific states of your assets with precision. Examples include:
- In for Service
- Awaiting Parts
- On Hire to Client
- Reserved for Job #123
- Damaged – Awaiting Assessment