
Basements, containers, plant rooms, loading bays and the far end of a yard all have one thing in common: no bars. Asset Giant has an on-site app built for exactly those places. Everything you do in it is kept on your device the moment you tap, and goes up as soon as you open the app back in signal — so a scan in a lift shaft is as good as a scan in the office.
Getting set up
What you need
- An iPhone or iPad using Safari, or an Android phone using Chrome or Samsung Internet. Add to Home Screen is in Safari only.
- The app opened from its home-screen icon, not a browser tab — on an iPhone that is also what keeps the copy on the phone.
- The phone’s camera, and permission to use it, for scanning.
- Any paid plan.
- On your phone, open Asset Giant and sign in as normal.
- Go to the on-site app at /app/site/, or tap the shortcut from your dashboard.
- Add it to your home screen. On an iPhone, tap the Share button in Safari and choose Add to Home Screen. On Android, tap the browser menu and choose Install app or Add to Home screen.
- Let it finish its first sync. It copies your inventory to the phone, and the screen tells you how fresh that copy is — as of 09:12 — on every page.
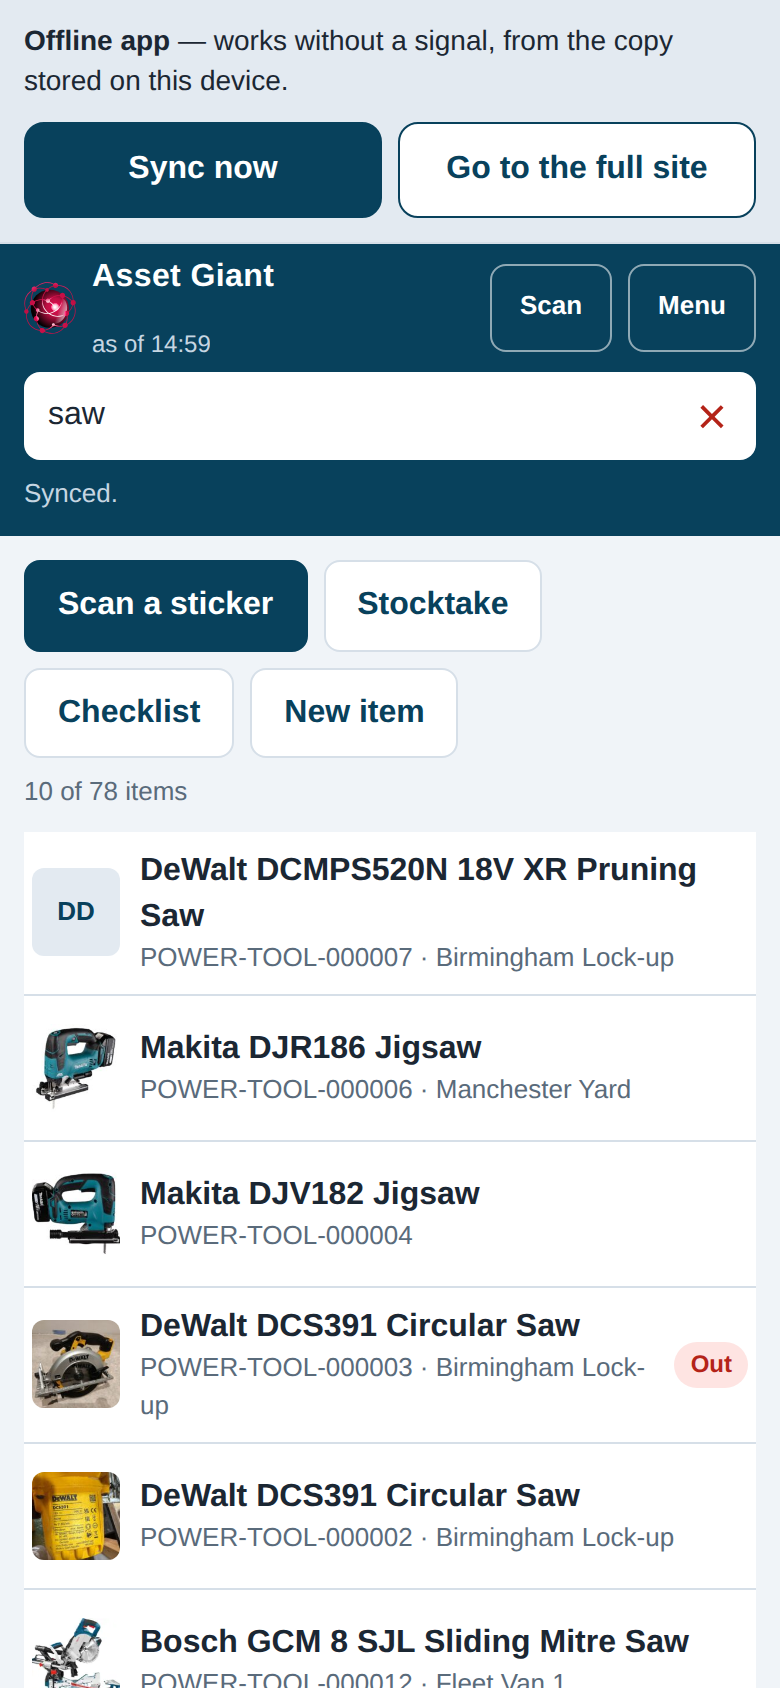
From then on, the home-screen icon opens straight into the on-site app. The bar at the top of the screen says Offline app, with a Sync now button to refresh your copy and send anything waiting, and a Go to the full site button for everything else. The on-site app is included with the paid plans.
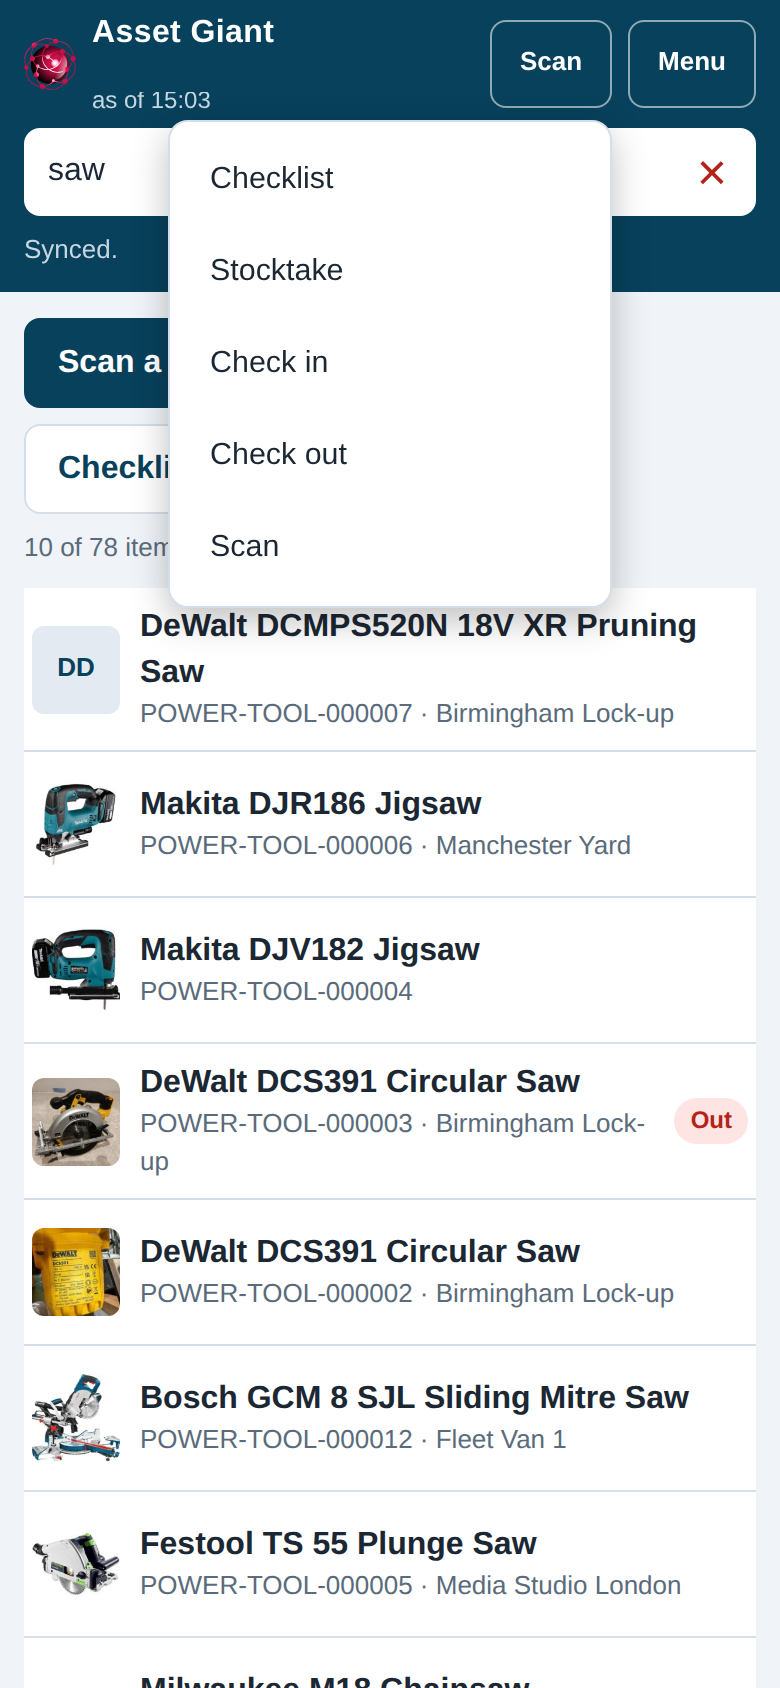
There are two buttons at the top right of every screen. Scan is the one you will use with the phone in your hand: checklists, stocktakes, checking items in and out, and a plain scan. Menu is everything else: your inventory, a new item, this device, Sync now and the full site.
What you can do with no signal
- Scan a QR code and see the item’s card — what it is, where it is and who has it.
- Check an item out to a person, or back in to a location.
- Check a whole load in or out at once — scan them one by one and confirm the lot with one button.
- Add a note, or Set status — for example, to show the office that a tool needs looking at.
- Run a stocktake of a location, scanning as many items as you like.
- Tick off a checklist — load a van against one of your lists and see what is still missing.
- Add a new item, including a photo.
- Search the copy on your phone by name, reference, make, model or location.
A few things always need a connection, because they reach outside the app: AI lookups, PDFs and label printing, exports, documents and invoices, billing, settings and anything that deletes. Those stay in the full app.
What “waiting to sync” means
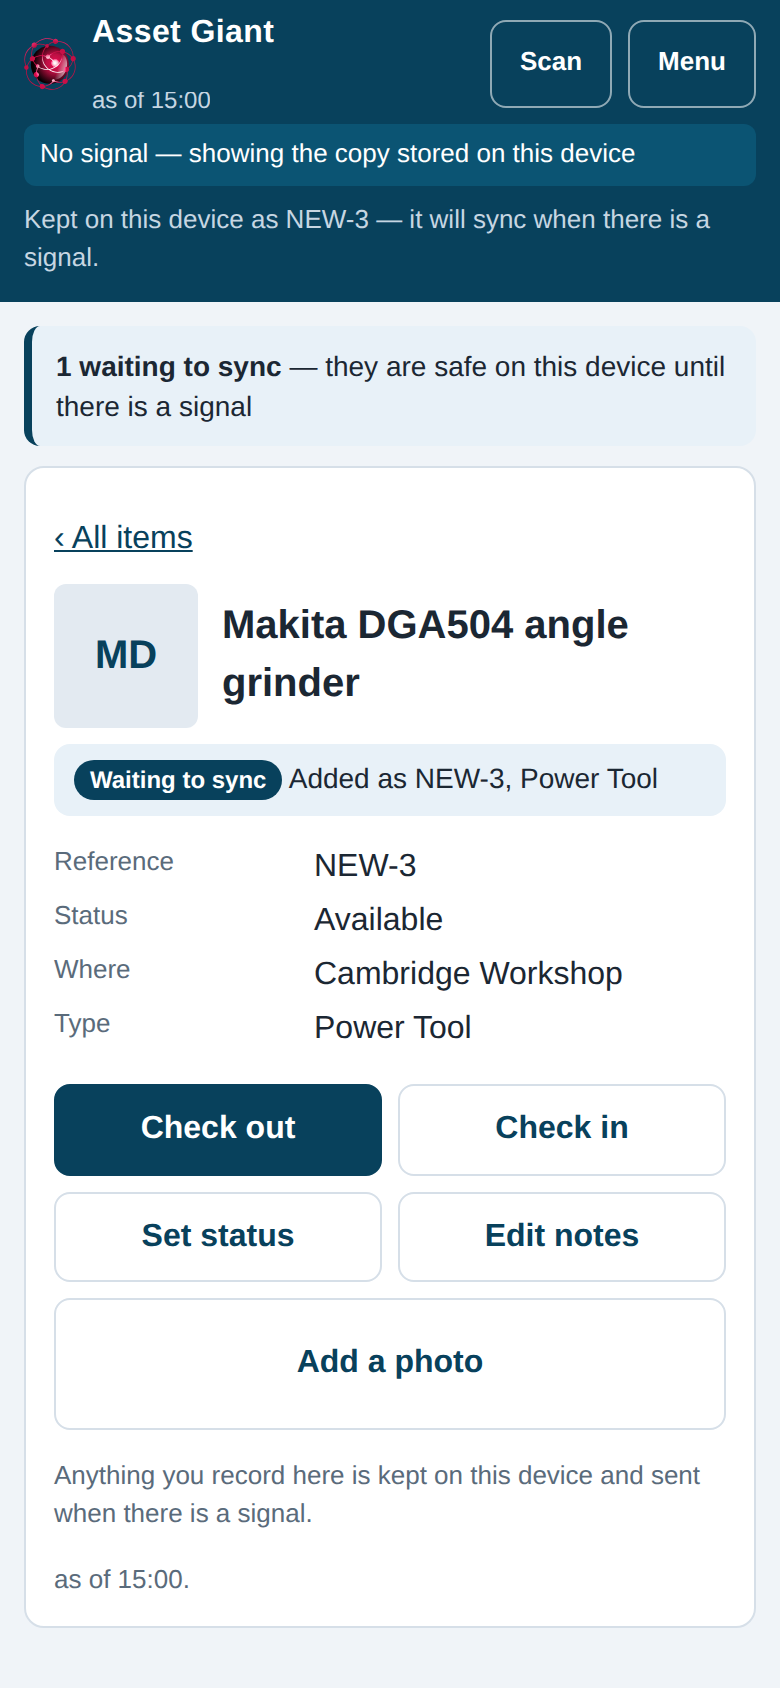
When there is no signal the app never tells you something is saved on the server, because it is not. It says waiting to sync, and it keeps saying that until the server has confirmed that exact entry. The number waiting is on screen the whole time.
You do not have to press anything to send it, but the app does have to be open to do the sending. With the app on screen it goes the moment the phone has a connection again, and while anything is still waiting it keeps trying about once a minute. That is the same on an iPhone and on Android: a phone in your pocket with the app closed is not sending. So open the app when you are back in range and it catches up in seconds — or press Send now if you would rather not wait for it.
If a shared phone has somebody else’s work waiting on it, the app says so — 2 items from Dave Oakfield waiting to sync — and whoever is logged in can press Send them. It shows the count and the owner, never what they recorded.
Running a stocktake
- Tap Stocktake and choose the location you are standing in.
- Scan everything you can find. The window flashes green the moment it counts an item, so you can keep moving without looking away from the shelf. The camera stays on, the running count is at the top, and scanning the same sticker twice does not count it twice.
- Tap Finish and save on this device.
Green means counted — including an item the office had recorded at another location. Finding kit where it was not expected is the point of a stocktake, so it counts and the office sees it when this syncs.
If the window flashes red, nothing was counted: the sticker is not in the copy on this phone. That is usually an item added since your last sync. The number of them is on screen so you know how much your copy has moved on, and you carry on.
The list survives the app closing, so you can put the phone in your pocket, do something else, and carry on where you left off.
When it syncs, every item you scanned is confirmed at that location, and anything the system expected to be there but you did not scan is recorded as not found. Nothing is marked lost, moved or thrown away on the phone — the office decides what to do with the missing items afterwards, on the usual stocktake screen. See Performing an Inventory Stocktake for that side of it.
Running a checklist
Loading a van is the job with the least signal and the most to get wrong, so checklists work with no bars at all.
- Tap Checklist and choose the list you are working to.
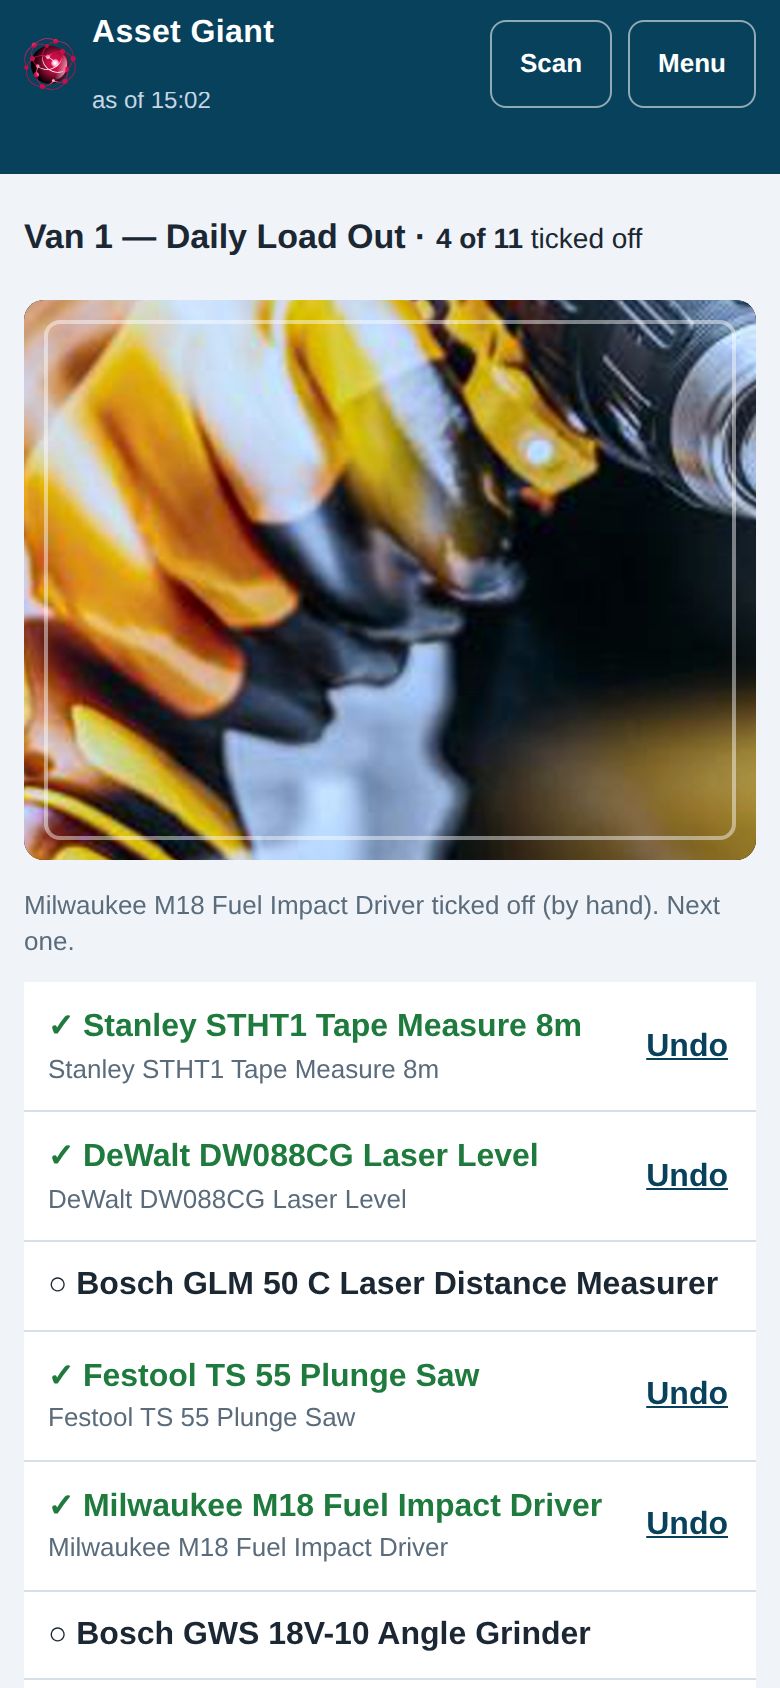
- Scan everything on it. The window flashes green each time a line is ticked, the camera stays on, the count at the top says 4 of 11 ticked off, and each line gets a tick as you find it.
- Tap Finish and save on this device.
The colour tells you what happened without looking away from the shelf:
- Green — it is on the list and it is ticked off.
- Amber — an item of yours that is not on this list. It is counted on its own so you can see it, and the rest of the checklist carries on.
- Red — nothing was counted: this phone does not have that item in its copy yet.
A line that says any one of these will do — a substitute line — is ticked by whichever of its items you scan, and the record afterwards says which one it was.
The run survives the app closing, so you can put the phone down, load something heavy, and pick up where you left off. When it syncs, Asset Giant writes the checklist record you would have got online, including anything on the list you did not find, ready for the office.
Checking the items out as you go
On the first screen there is a Check these out as I go switch. Turn it on and you can choose the job the kit is going out on and who is taking it. Each item is then checked out the moment you scan it — so a checklist you only get half way through still says what left the store.
Each of those check-outs goes up as its own entry, the same as if you had checked the tool out by hand. If somebody else has already taken one of them, that one is held back and an administrator can see it under Settings → Team; the rest are unaffected.
Checking kit out to a client still needs a connection. With no signal you can name a person, or type a name, and a job.
Checking a whole load in or out at once
Four men and a van at seven in the morning is not the moment to open twenty item cards. Tap Scan, then Check out (or Check in).
- Scan each item in turn. The window flashes green as each one goes on the list, the camera stays on, and scanning the same sticker twice does not add it twice.
- Say who is taking them, or where they are going. You answer once, for the whole list.
- Tap the button at the bottom. It says exactly what it will do — Check out 12 items.
Everything on the list is then recorded one item at a time, the same as if you had done each one by hand, and goes up as soon as there is a signal. The list survives the app closing, so you can start loading, stop for half an hour and carry on.
If an item is already checked out to somebody, the window flashes amber and it is not added — check it in first. If a sticker is not in the copy on your phone the window flashes red and nothing is added; that is usually an item added since your last sync.
When a sticker will not read
Under the list of what you have scanned there is a search box. Start typing and matching items from the copy on your phone appear underneath it — by name, reference, type, manufacturer, model, category or location. Tap one and it counts exactly as if you had scanned it.
That is the way through a sticker that has been scraped off, a label under three inches of mud, or a phone with no rear camera at all. On the item’s history it says it was entered by hand, not scanned, so a record is never more certain than it should be.
Adding a new item on site, and its temporary reference
Tap New item, give it a name, choose its type, and save. You can add a location, a status, a note and a photo while you are there.
An item added with no signal is given a temporary reference that looks like NEW-3. It is deliberately not shaped like an asset ID, so there is never any doubt about which is which. If you write NEW-3 on a strip of tape to identify the tool for now, that is exactly what it is for.
The permanent asset ID — TOOL-000042, or whatever your own format produces — is issued by Asset Giant when the item syncs, using the numbering rules for its type. The app tells you when that happens, and the card swaps to the real ID.
The temporary reference is kept for good. A month later you can still search your inventory for NEW-3 and find the item, and it is on the item’s history as well. So a reference scribbled on tape in a container never becomes a dead end.
If you scanned a blank pre-printed sticker, choose Add the item from that sticker’s screen. The new item keeps the sticker, so the label stays on the tool.
Photos
A site photo is far larger than a scan, so photos are sent separately and after everything else. That means an item is saved as soon as there is any signal at all, without waiting for its photograph to upload.
Photos waiting to send are shown on their own line, with a Photos screen that lists them and a Send them now button. There is also an Only send photos on wi-fi switch there if you would rather keep them off your mobile data. Some phones will not tell the app whether they are on wi-fi or mobile data; on those the switch has nothing to work with and photos are sent either way, and the screen says so.
If something could not be saved
A few things can only be settled by the server, so the phone cannot promise them: two people checking the same tool out at once, a status your company has since removed, or a new item that would take your plan past its item limit.
When one of those comes back refused, the app says so plainly and the message stays on screen until you dismiss it — it will not flash past while the phone is in your pocket. The full record, including everything the phone sent, is in Settings → Team, under Work that could not be saved, so an administrator can read it and enter anything that still matters.
Good habits on site
- Tap Sync now before you leave for a job, so the copy on the phone is fresh.
- Open the app when you get back into signal, and glance at the waiting count.
- If a copy on the phone goes more than two weeks without a sync, the app stops showing stock figures until it has refreshed. Stock and locations move on, and a fortnight-old number on a screen is worse than none.
- Removing the stored copy from a phone removes it from that phone only. It is not a remote wipe, and anything not yet synced on it would be lost — so send the waiting work first.
See also Getting Started with the QR Scanner and Moving Assets between Locations via Scan.