
Asset Giant keeps the sign-out sheet for you. Check a drill, a camera body or a two-way radio out to a person with a due-back date and the item shows who has it and when it is expected, on its own record, in the inventory and on the scanner. Add one alert rule and the people you choose are emailed the day before it is due, the same morning, or the moment it is overdue — and the same rule can watch bookings due back off the calendar.
Checking items in and out is on every plan. Due-back alerts are included from the Crew plan (see Check Your Plan, Your Usage and What You Can Add).
Step 1: Check the item out with a due-back date
There are three ways to check an item out, and all three ask the same two things — To whom, and Due back when:
- On the item — open it and look at the top of the Assignment card. Press Check out, choose the person (someone on your team, or Someone else… and type a name for a subcontractor or a client’s crew), pick the Due back date and confirm (see Keep Track of Which Van, Site or Job a Tool Is On).
- In the inventory — tick several items and choose Check out… from the bulk actions to sign a whole kit out to one person in one go.
- With the scanner — open the scanner, choose Check In / Out, pick the Check Out tab, choose the person and the date once, and scan each item (see Using the Mobile Scanner to Check Items In/Out).
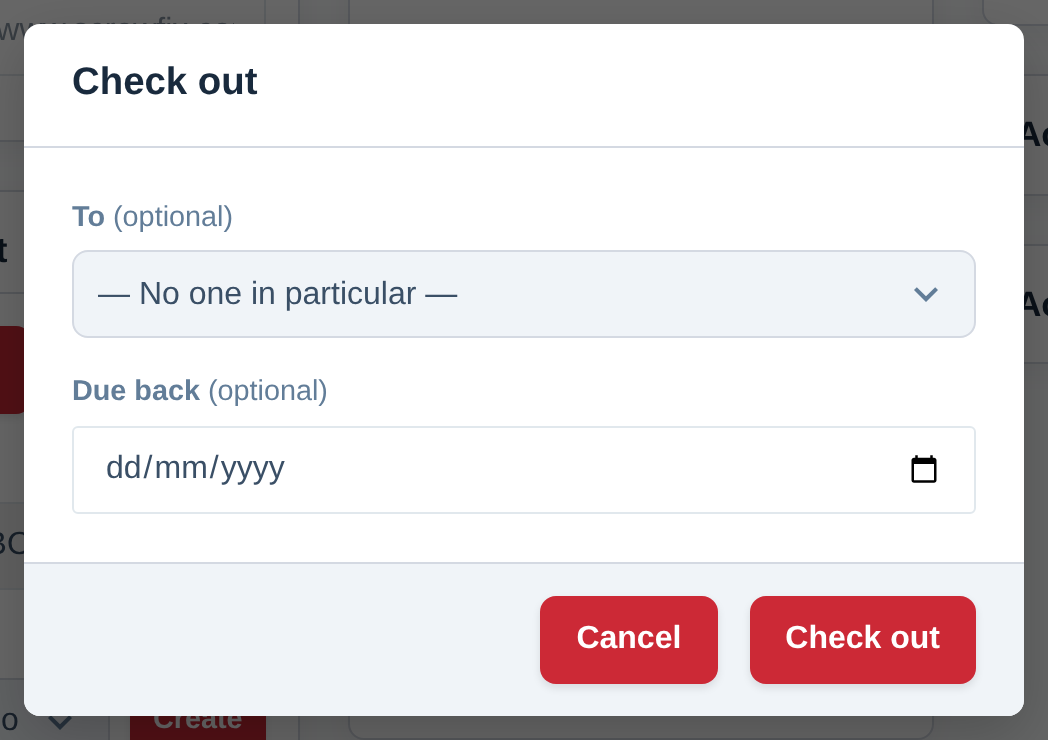
The due-back date is optional, but an item checked out without one can never be reported due or overdue — nothing was promised. Give every check-out a date, even if it is today.
Step 2: See who has it
Once an item is out, a Checked out pill appears at the top of its Assignment card with the person’s name and the due date beside it — “Jess Wood, due Fri 3 Oct”. The same pill shows on the item’s row in the inventory and on the scanner when it is scanned. When the due date passes, the pill turns red wherever it is shown.
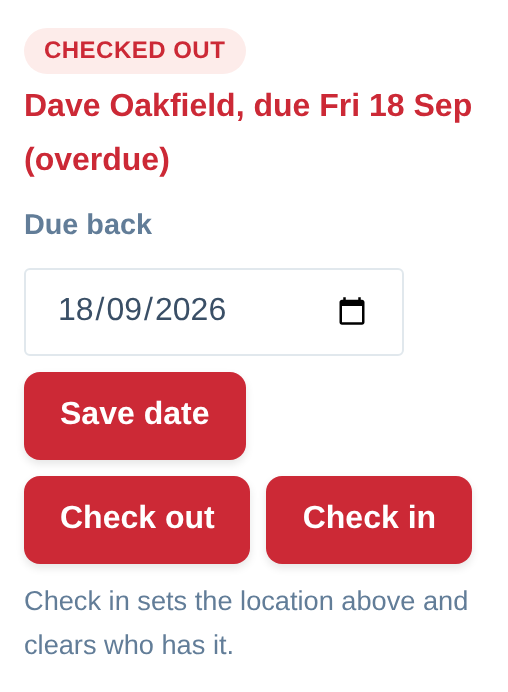
From the card you can change the Due back date (edit it and press Save date) or press Check in when the item comes back. Checking in clears the pill and who has it, and records the item at the location chosen on the card — set the location first if it has come back somewhere new. Checking out an item that is already out is allowed — you are asked first — so a tool that changed hands on site ends up against the right name.
Step 3: Switch on the due-back alert
Go to Settings then Alerts. Two rules are already there and switched On: Checked-out item due back and Booking due back. Every item with a due-back date, and every booking with an end date, shows on your Alerts page and dashboard when it is due. They email nobody until you choose who should hear: press Edit on the one you want, tick the people, and press Save rule.
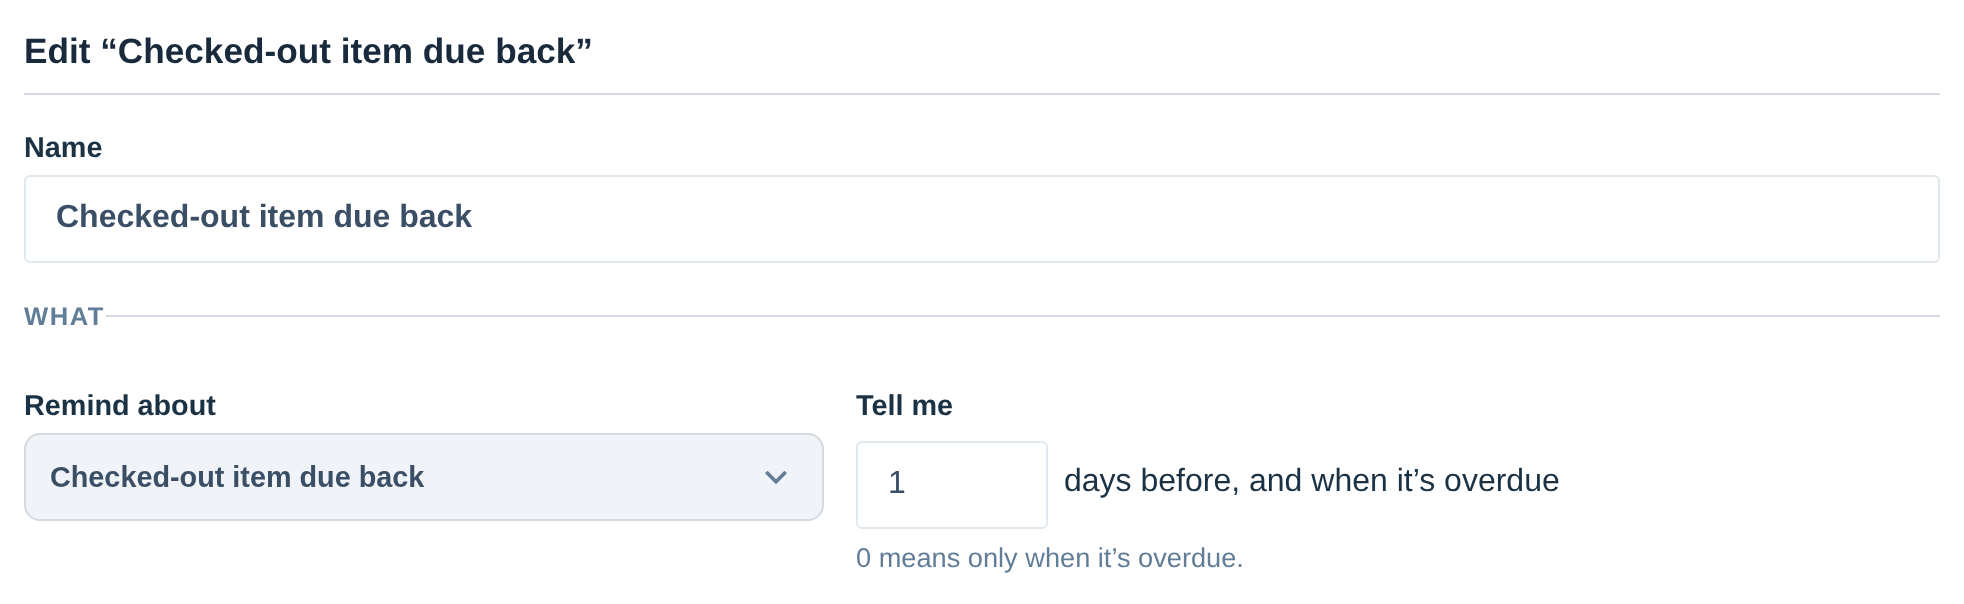
To write your own rule, press + New rule and, under Remind about, choose Checked-out item due back or Booking due back. Set how many days’ notice you want in Tell me … days before: 1 tells people the day before, 0 only once the item is overdue. Whatever the number, an overdue item stays on the list until it is checked in.
The rest of the form works exactly as it does for a date rule (see Getting Alerts Before a Date Passes):
- Which items — leave the filters empty to cover everything, or narrow it by asset type, category, folder, location or status, or hand-pick items.
- Who gets it — people on your team, the person each item is assigned to, and up to ten outside addresses such as a site manager or a hire desk.
- Each item, or a summary — an email per item as it comes due, or one daily or weekly round-up.
- Your message — one line at the top of every email, such as “Return kit to Unit 4 by 8am”.
What you see when something is due or overdue
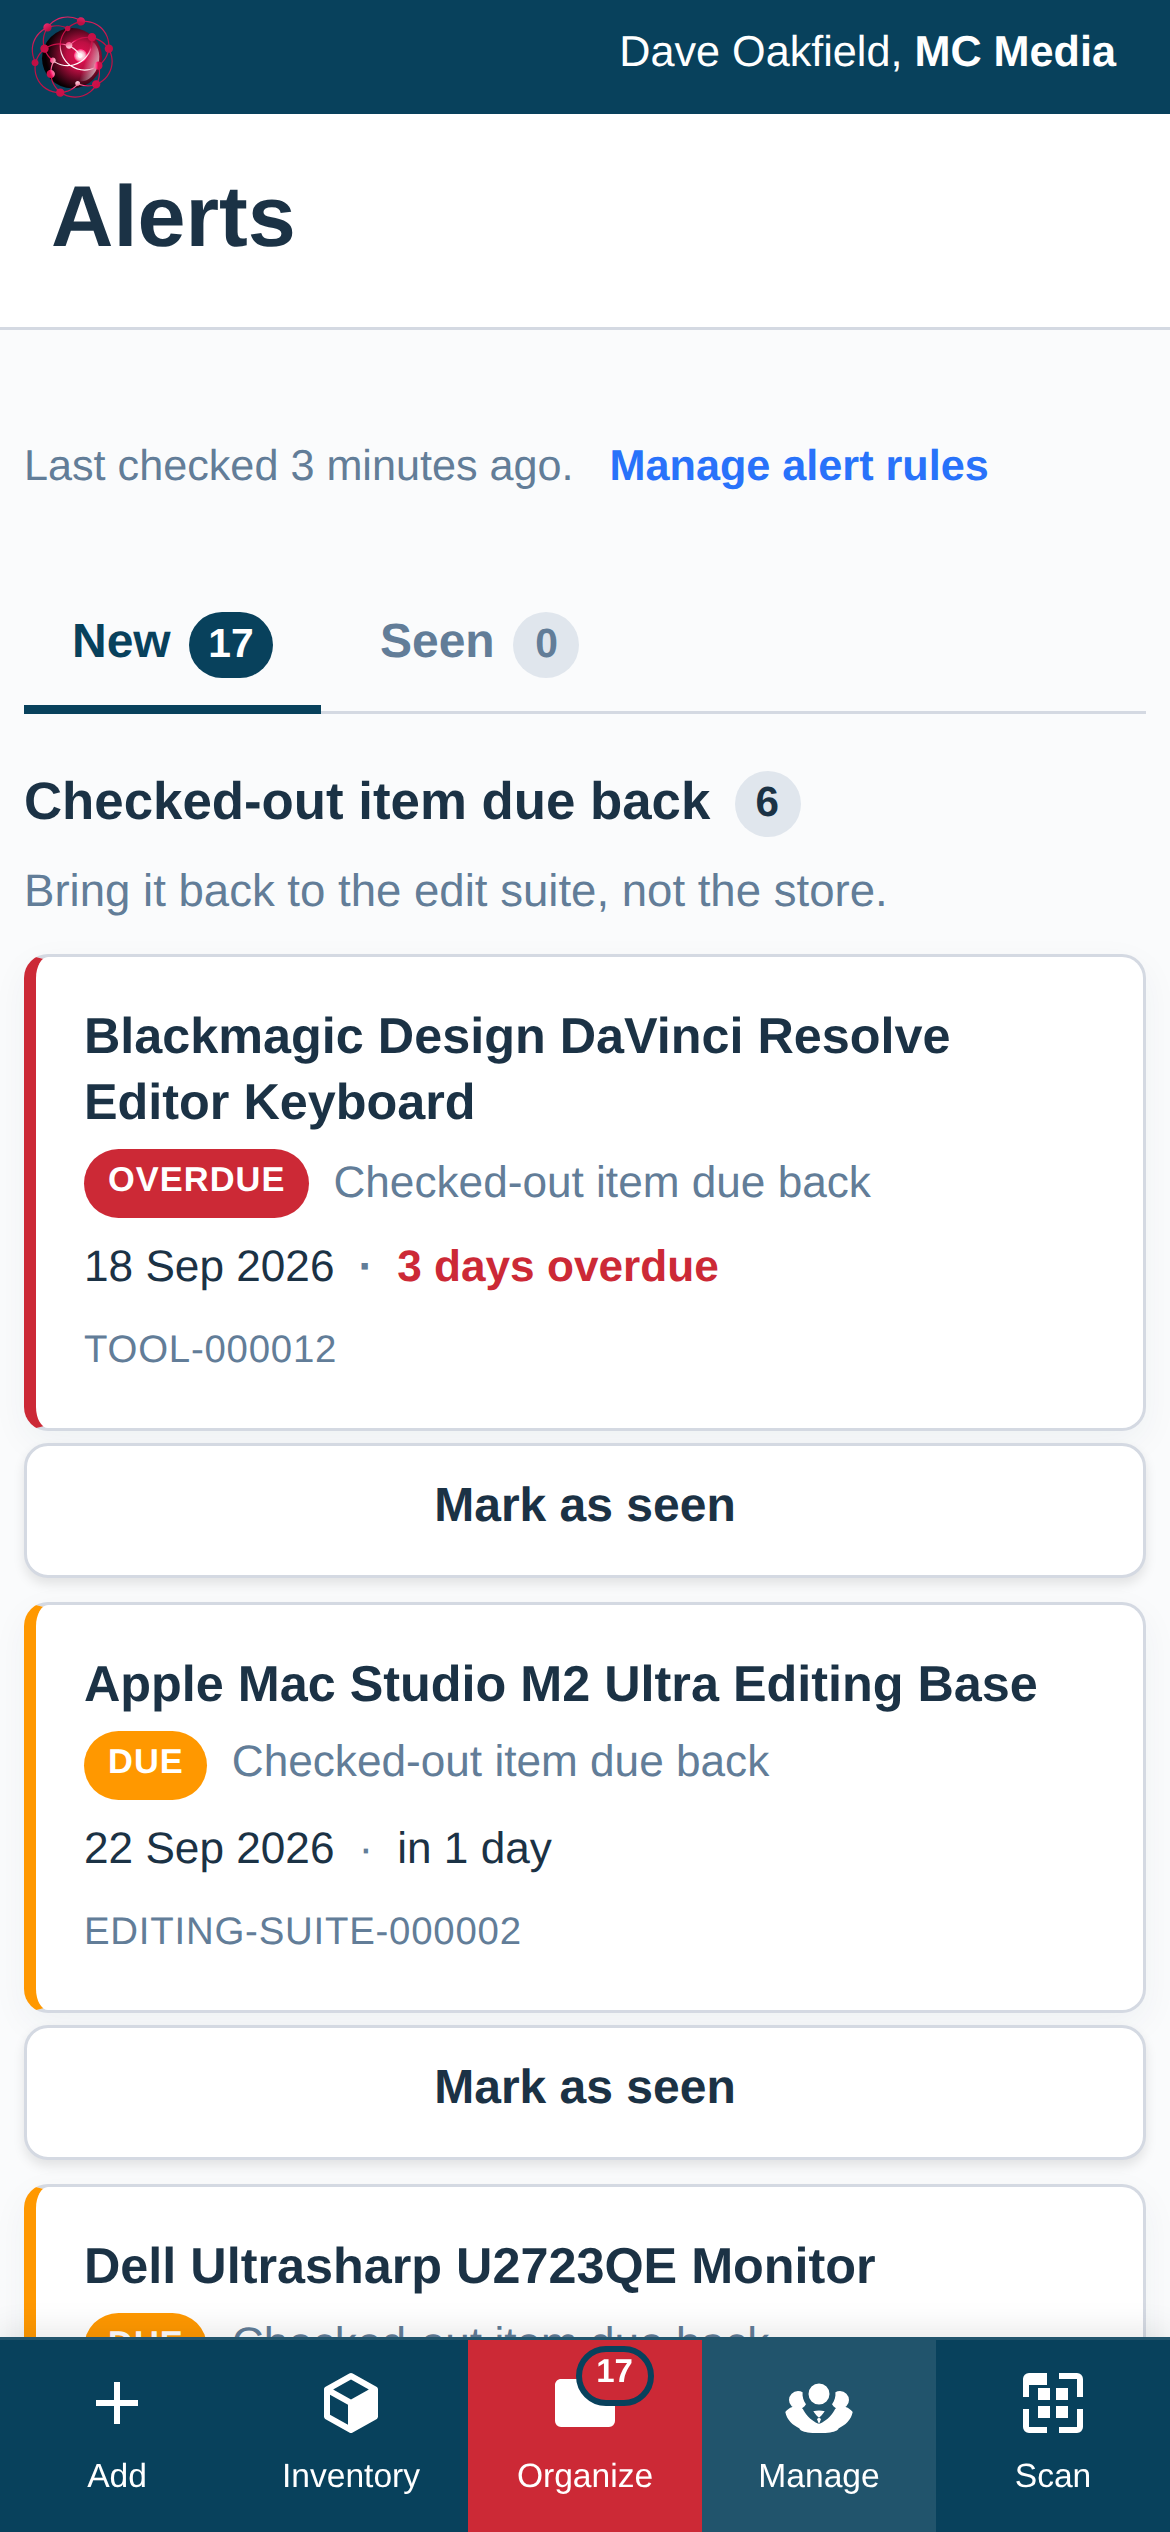
The email names the item and the date it was due, with a button that opens the record, where the pill shows who has it. In the app the item appears on the Alerts page, most overdue first, the count in the menu goes up, and the dashboard’s Attention needed panel lists it. Each row opens the item so it can be checked in on the spot; press Mark as seen to file a row in the Seen tab without hiding it from anyone else.
Clearing the alert
Check the item in and the alert clears by itself. For a booking, the alert clears when the booking ends and the kit is checked back in. Nothing needs marking as done. If the item goes out again with a new date, it comes back as a new alert when that date is near.
Bookings due back
A booking made on the calendar has an end date (see Book Kit Out for a Job and See What’s Free), and the Booking due back rule watches it in the same way: the day before it ends, or once it has ended. Use it when kit goes out on a job or a shoot under a booking rather than a scan, so the next booking is not waiting on a van that has not come back.
Why didn’t I get an alert?
- Was a due-back date set? An item checked out with no date is never reported.
- Is the rule on, and does anyone get it? Check the switch in the Alerts tab and Who gets it — a rule with nobody named shows its items in the app only.
- Is the date inside the window? A rule with one day’s notice says nothing about an item due next week. Overdue items are always included.
- Has the check run yet? Check-outs and bookings are checked twice a day, so allow up to twelve hours after a change before expecting the item on the Alerts page.
For what the pill and the alert can do for a busy store, see Checked-Out & Overdue Alerts (feature overview); for the scanning itself, see Check Items In & Out (feature overview).